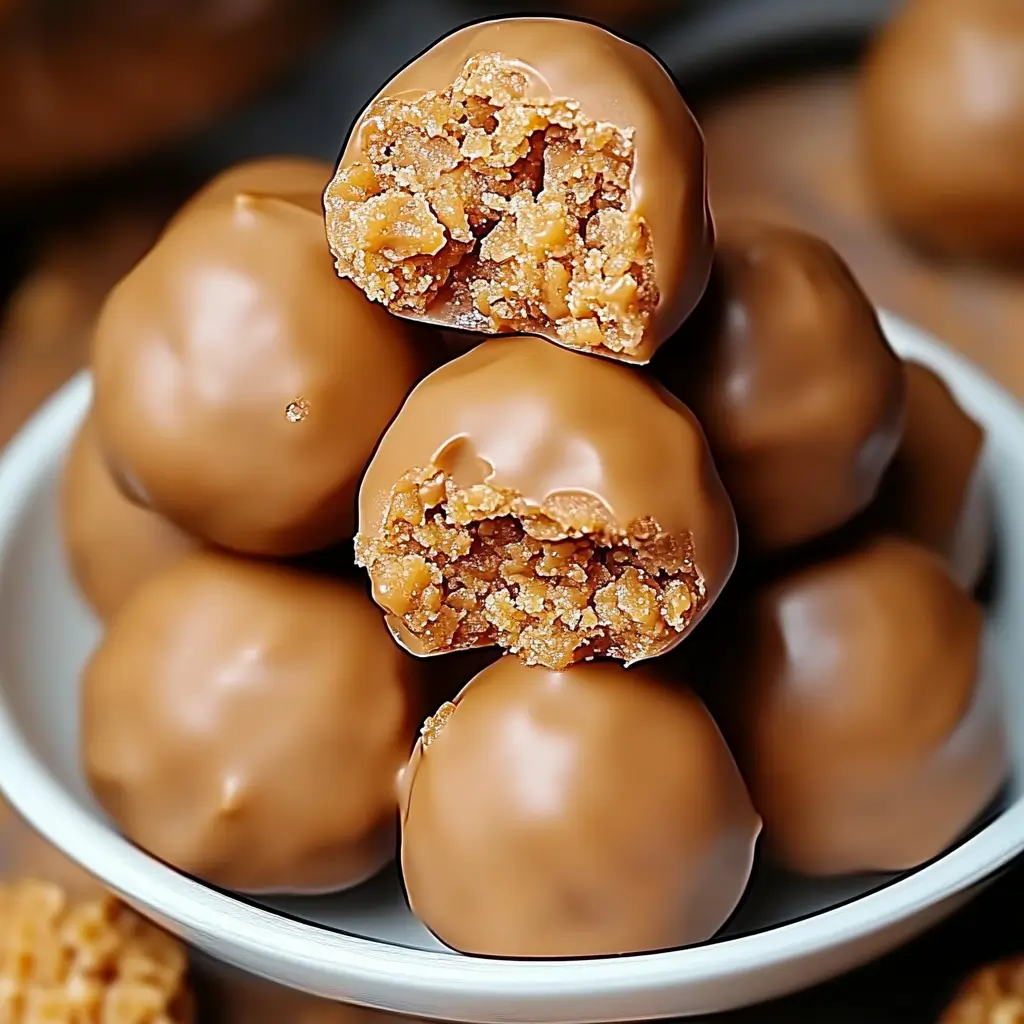
These No-Bake Butterfinger Peanut Butter Chocolate Balls are the ultimate indulgence. With a creamy peanut butter base, crunchy graham crackers, bits of Butterfinger bars, and a luscious chocolate coating, they’re packed with flavor and texture in every bite. Whether you’re whipping up a holiday dessert, prepping edible gifts, or looking for a quick, no-bake treat, these bite-sized delights are guaranteed to impress.
I love making these No-Bake Butterfinger Peanut Butter Chocolate Balls for parties or family gatherings. The recipe is so simple, and the results are always a hit. Plus, there’s something magical about the combination of chocolate and peanut butter—it’s a timeless classic that’s only made better with the added crunch of Butterfinger bits. These little treats disappear fast, so make sure you grab one before they’re gone!
Why You’ll Love No-Bake Butterfinger Peanut Butter Chocolate Balls
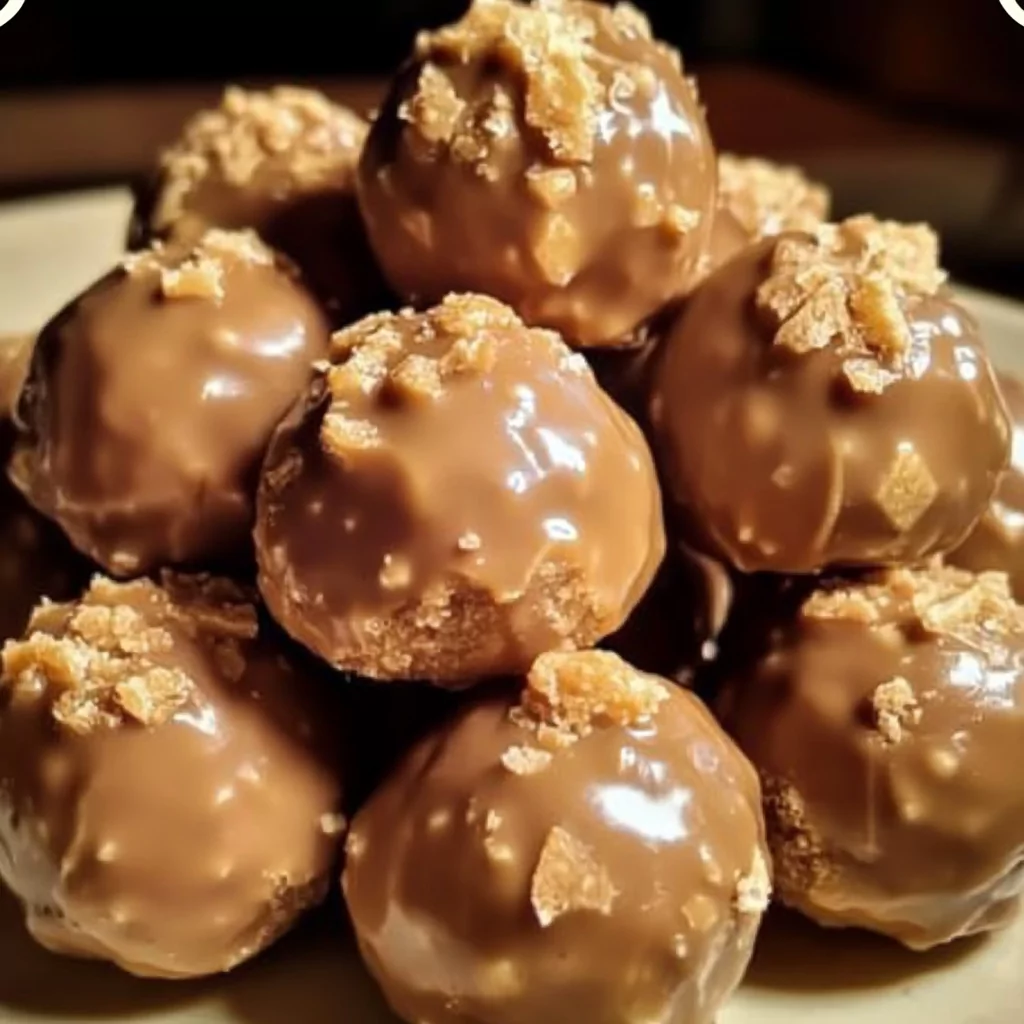
- No-Bake Simplicity: No need to turn on the oven—these come together quickly with just a few ingredients.
- Perfect Flavor Combo: Peanut butter, Butterfinger, and chocolate create a delicious balance of sweet, creamy, and crunchy.
- Great for Sharing: With a batch yielding around 30 balls, these treats are ideal for parties, gifting, or snacking.
- Customizable: From white chocolate drizzles to a pinch of sea salt, there are so many ways to make them your own.
Ingredients Notes for No-Bake Butterfinger Peanut Butter Chocolate Balls
Each ingredient plays a key role in creating these irresistible No-Bake Butterfinger Peanut Butter Chocolate Balls:
- 2 sleeves graham crackers, crushed (about 2 cups): Adds structure, sweetness, and a slight crunch to the filling.
- 2 ½ sticks unsalted butter, softened (1 cup or 225g): Helps bind the ingredients together and adds richness.
- 16 oz powdered sugar (about 2 cups): Sweetens the dough and gives it a smooth texture.
- 1 ½ cups crunchy peanut butter: Brings creaminess and texture to the filling. Smooth peanut butter works as well if you prefer a finer consistency.
- 5 regular-sized Butterfinger bars, crushed (about 1 cup): Adds signature Butterfinger crunch and flavor.
- 12 oz dark chocolate chips: Creates a rich, glossy coating for the balls. Substitute with milk or white chocolate if desired.
- Sprinkles (optional): Add a festive touch to the finished product.
Ingredient Substitutions:
- Use almond butter or sunflower seed butter as an alternative to peanut butter.
- Substitute graham cracker crumbs with digestive biscuits or vanilla wafers.
- Swap dark chocolate with milk chocolate or white chocolate for a sweeter coating.
Kitchen Tools Needed No-Bake Butterfinger Peanut Butter Chocolate Balls
- Food processor (or Ziploc bag and rolling pin) for crushing graham crackers.
- Large mixing bowl for making the dough.
- Electric mixer for combining ingredients.
- Small cookie scoop or tablespoon for portioning the dough.
- Microwave-safe bowl for melting chocolate.
- Baking sheet lined with parchment paper to hold the shaped balls.
How to Make No-Bake Butterfinger Peanut Butter Chocolate Balls
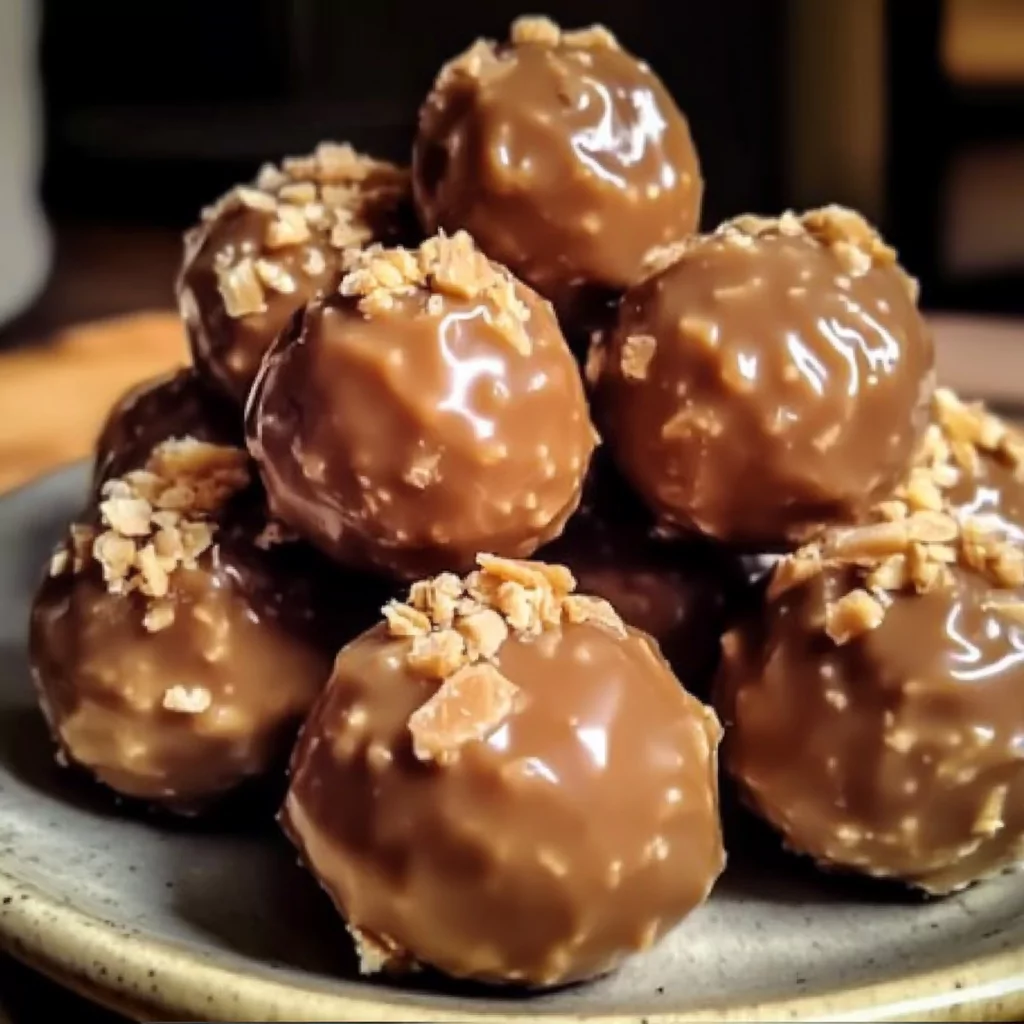
Follow these simple steps to create the perfect No-Bake Butterfinger Peanut Butter Chocolate Balls:
1. Prepare Graham Cracker Crumbs
Crush the graham crackers until you have about 2 cups of fine crumbs. You can use a food processor for uniform crumbs or place the crackers in a Ziploc bag and crush them with a rolling pin.
2. Make the Dough
In a large mixing bowl, use an electric mixer to cream together the softened butter and powdered sugar until light and fluffy, about 2 minutes. Add the crunchy peanut butter and mix until fully incorporated. Stir in the crushed Butterfinger bars and graham cracker crumbs. Mix until the dough comes together and is easy to shape.
3. Chill the Dough
Cover the bowl with plastic wrap and refrigerate the dough for about 30 minutes. This step firms up the dough, making it easier to roll into balls.
4. Shape the Balls
Once the dough is chilled, use a small cookie scoop or tablespoon to portion the dough. Roll each portion into a ball with your hands and place it on a parchment-lined baking sheet or plate.
5. Melt the Chocolate
In a microwave-safe bowl, melt the chocolate chips in 30-second intervals, stirring after each interval, until fully melted and smooth.
6. Dip the Balls in Chocolate
Use a fork or dipping tool to lower each ball into the melted chocolate, ensuring it’s fully coated. Tap off any excess chocolate, then place each dipped ball back onto the parchment-lined sheet. Decorate with sprinkles while the chocolate is still wet, if desired.
7. Set the Chocolate
Let the chocolate coating set completely. You can let them sit at room temperature for 10-15 minutes or speed up the process by placing the tray in the refrigerator.
Serving and Storage Tips
- Serving: Serve these Butterfinger chocolate balls chilled for the best texture and flavor.
- Storage: Store leftovers in an airtight container in the refrigerator for up to one week.
- Freezing: Freeze the balls in an airtight container for up to 3 months. Thaw in the fridge or at room temperature before serving.
No-Bake Butterfinger Peanut Butter Chocolate Balls Variations
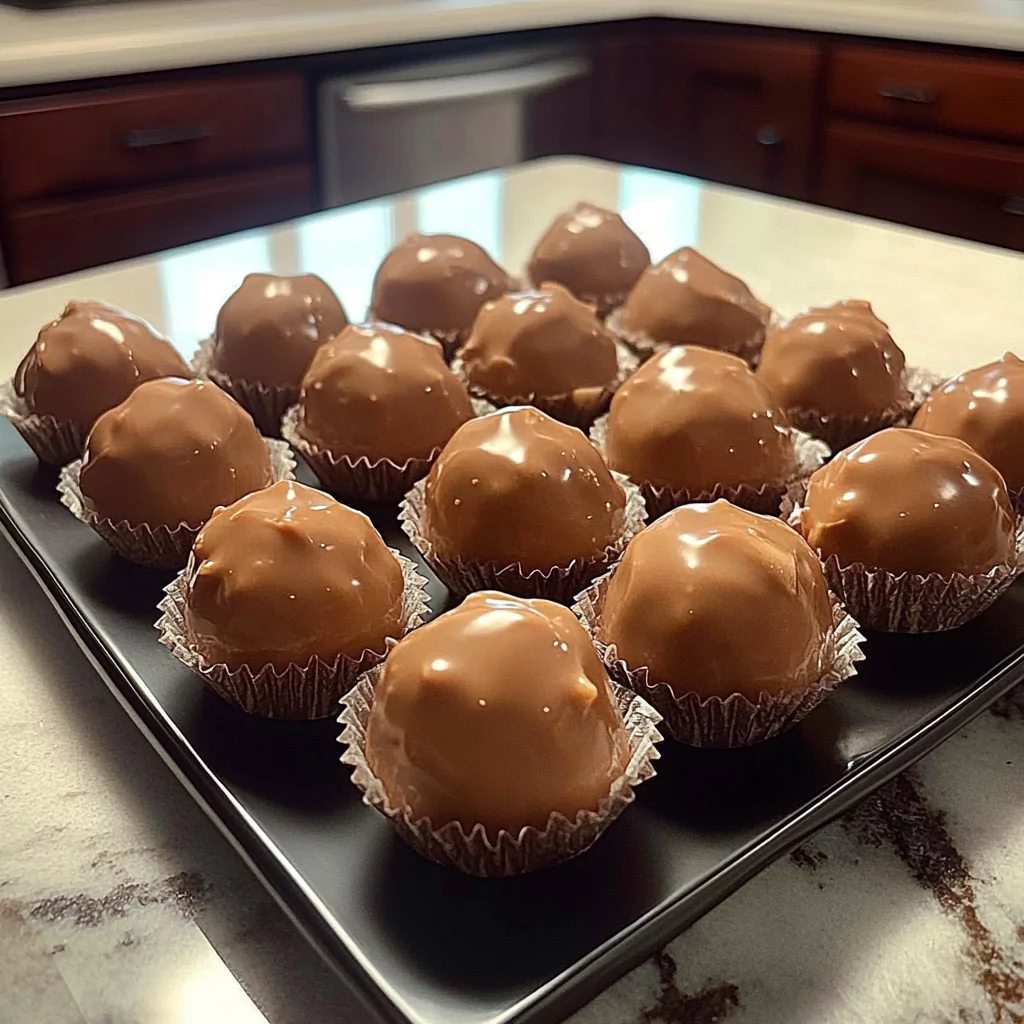
These No-Bake Butterfinger Peanut Butter Chocolate Balls are easy to customize! Try one of these variations:
- White Chocolate Coating: Dip the balls in melted white chocolate for a festive, sweeter twist.
- Sea Salt Sprinkle: Add a pinch of sea salt on top of the chocolate coating for a sweet and salty combo.
- Peanut Butter Drizzle: Drizzle melted peanut butter over the coated balls for extra peanut flavor.
- Crunchy Mix-In: Add chopped pretzels or peanuts to the dough for extra crunch.
Top Tips for Perfect No-Bake Butterfinger Peanut Butter Chocolate Balls
- Soften Butter Properly: Room-temperature butter ensures a smooth and cohesive dough.
- Chill the Dough: Chilled dough is easier to roll and holds its shape better during dipping.
- Melt Chocolate Gently: Overheating chocolate can cause it to seize. Melt in 30-second intervals and stir frequently.
- Use a Fork for Dipping: A fork or dipping tool helps coat the balls evenly while allowing excess chocolate to drip off.
- Work Quickly with Chocolate: Dip and decorate one ball at a time to ensure the sprinkles stick before the chocolate sets.
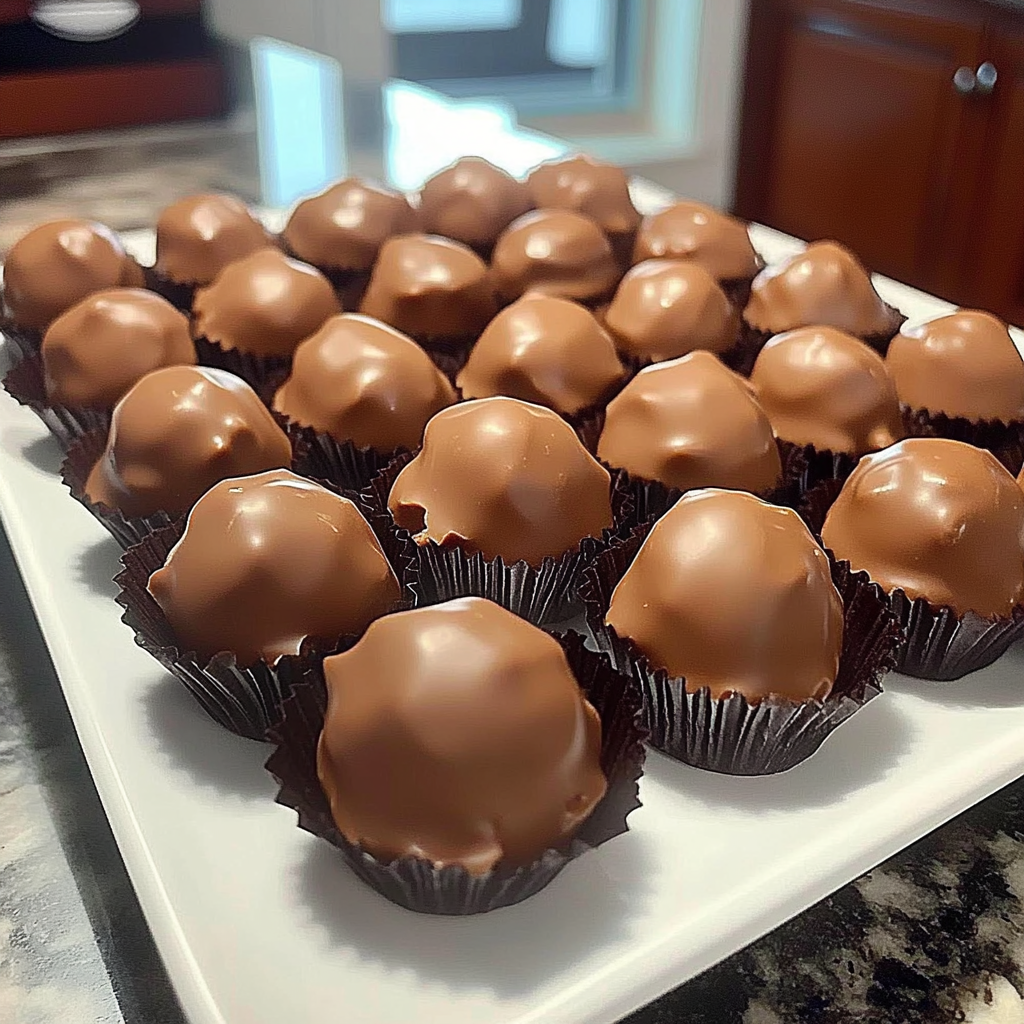
Frequently Asked Questions (FAQ)
- Can I use smooth peanut butter instead of crunchy? Yes, smooth peanut butter works just as well for a creamier filling.
- Can I use milk chocolate instead of dark chocolate? Absolutely! Milk chocolate will create a sweeter coating that complements the Butterfinger flavor.
- Do I need to refrigerate these after making them? Refrigerating helps keep the chocolate coating firm, especially in warmer kitchens.
- What’s a good substitute for graham cracker crumbs? You can use crushed digestive biscuits or vanilla wafers as an alternative.
- How do I prevent the chocolate from cracking? Let the balls reach room temperature briefly before dipping to reduce temperature shock.
More No-Bake Dessert Recipes
Looking for more easy, no-bake treats? Try these:
Final Thoughts
These No-Bake Butterfinger Peanut Butter Chocolate Balls are the ultimate sweet treat for any occasion. Packed with creamy peanut butter, crunchy Butterfinger bits, and coated in rich chocolate, they’re a surefire crowd-pleaser. Perfect for gifting, sharing, or indulging, they’re easy to make and even easier to love!
No-Bake Butterfinger Peanut Butter Chocolate Balls
Ingredients
- – 2 sleeves graham crackers crushed (about 2 cups crumbs)
- – 2 1/2 sticks unsalted butter softened (1 cup or 225g)
- – 16 oz powdered sugar about 2 cups
- – 1 1/2 cups crunchy peanut butter
- – 5 regular-sized Butterfinger bars crushed (about 1 cup)
- – 12 oz dark chocolate chips
- – Sprinkles for decoration optional
Instructions
- Prepare Graham Cracker Crumbs: Crush the graham crackers until you have about 2 cups of fine crumbs. Use a food processor or place them in a Ziploc bag and crush with a rolling pin.
- Make the Dough: In a large mixing bowl, cream together the softened butter and powdered sugar with an electric mixer until light and fluffy, about 2 minutes. Add the crunchy peanut butter and mix until fully incorporated. Stir in the crushed Butterfinger bars and graham cracker crumbs, mixing until the dough comes together.
- Chill the Dough: Cover the bowl with plastic wrap and refrigerate the dough for about 30 minutes to firm it up.
- Shape the Balls: Use a small cookie scoop or a tablespoon to portion the dough. Roll each portion into a ball with your hands and place them on a parchment-lined baking sheet.
- Melt the Chocolate: In a microwave-safe bowl, melt the dark chocolate chips in 30-second intervals, stirring after each interval, until smooth.
- Dip the Balls in Chocolate: Use a fork or dipping tool to dip each ball into the melted chocolate, ensuring it’s fully coated. Tap off the excess chocolate and place the dipped ball back on the parchment-lined baking sheet. Decorate with sprinkles if desired.
- Set the Chocolate: Allow the chocolate to set completely at room temperature (about 10-15 minutes) or place the tray in the refrigerator to speed up the process.
- Serve: Serve chilled or at room temperature. Enjoy!
Notes
- Variations: Try white chocolate for a sweeter version or almond butter for a different flavor profile.
- Storage: Store leftovers in an airtight container in the refrigerator for up to one week or freeze for up to 3 months.
- Decorating Tip: Drizzle additional melted chocolate on top for a decorative finish.

