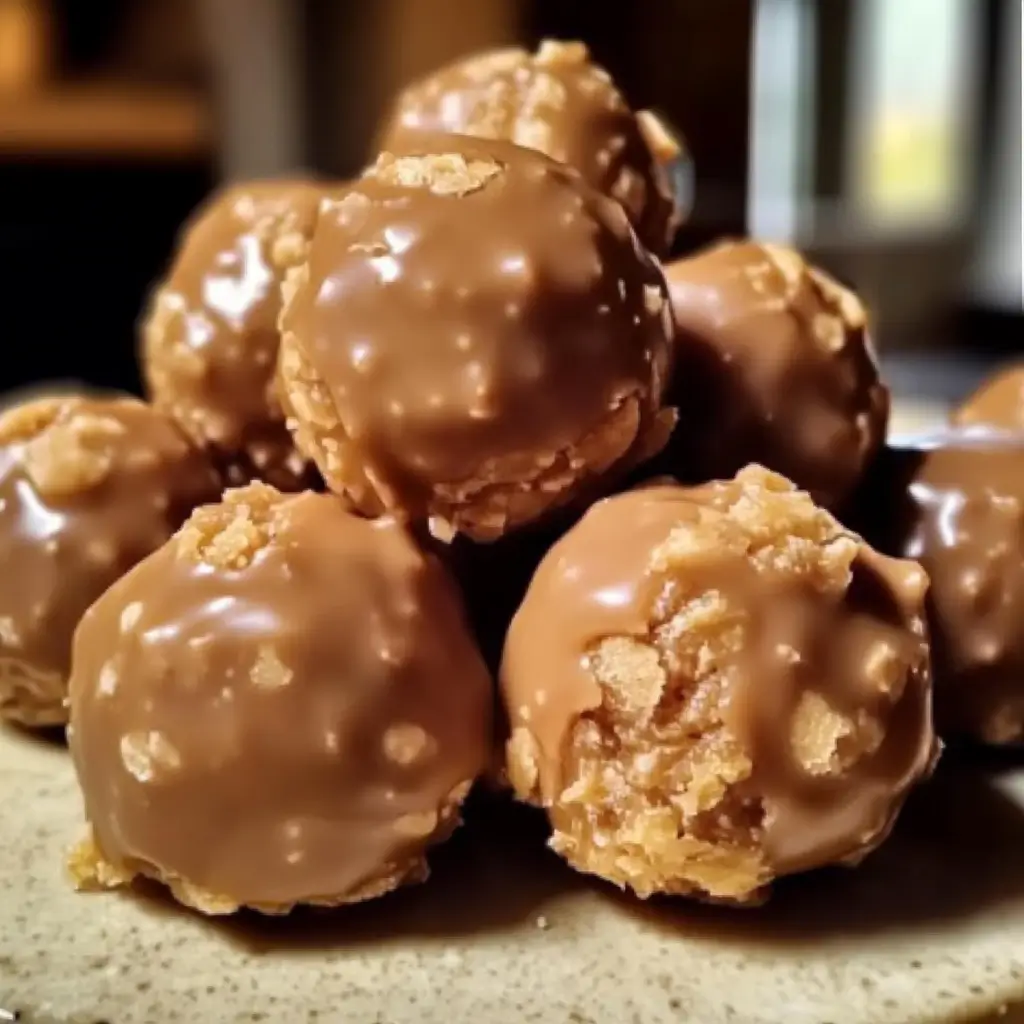
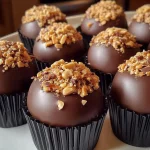
These Butterfinger Balls are rich, creamy truffles that combine the crunch and peanut butter flavor of Butterfinger candy bars with a smooth cream cheese filling. Coated in a layer of chocolate, these no-bake treats are quick to make and perfect for parties, gifting, or a simple indulgent treat.
Why You’ll Love This Recipe
- Quick and No-Bake: With just a few ingredients, you can make these treats in under an hour without turning on the oven.
- Irresistible Flavor: Peanut butter and chocolate combine perfectly for a crowd-pleasing flavor.
- Perfect for Gifting: These truffles make excellent homemade gifts, especially during holidays.
- Fun to Decorate: Easily customizable with sprinkles, extra Butterfinger crumbs, or drizzles of chocolate.
Ingredients
- 2 cups crushed Butterfinger candy bars (about 16 fun-sized bars)
- 8 oz cream cheese, softened
- 2 cups semi-sweet chocolate chips
- 1 tablespoon vegetable shortening (optional, for a smoother chocolate coating)
- Optional: Butterfinger crumbs or chocolate sprinkles for decoration
Step-by-Step Instructions
Step 1: Mix Ingredients
- In a large mixing bowl, combine the crushed Butterfinger candy bars and softened cream cheese.
- Mix until the ingredients are thoroughly blended and form a thick, cohesive mixture.
Step 2: Form Balls
- Roll the mixture into 1-inch balls and place them on a baking sheet lined with parchment or wax paper.
- Refrigerate the balls for 30 minutes to firm up, which makes them easier to dip in chocolate.
Step 3: Melt Chocolate
- In a microwave-safe bowl, melt the semi-sweet chocolate chips in 20-second intervals, stirring each time until smooth.
- If desired, add 1 tablespoon of vegetable shortening to the melted chocolate to achieve a smoother coating.
Step 4: Dip Balls
- Remove the chilled Butterfinger balls from the refrigerator. Using a fork or dipping tool, dip each ball into the melted chocolate, coating it completely.
- Let any excess chocolate drip off before placing the dipped balls back onto the lined baking sheet.
Step 5: Set and Decorate
- Allow the coated balls to sit at room temperature or in the refrigerator until the chocolate sets. Before the chocolate fully hardens, sprinkle the tops with Butterfinger crumbs or chocolate sprinkles, if desired.
Kitchen Equipment Needed
- Mixing bowl for combining ingredients
- Baking sheet lined with parchment or wax paper
- Microwave-safe bowl for melting chocolate
- Fork or dipping tool for coating
Serving and Storage Tips
- Serving: Serve these Butterfinger Balls chilled or at room temperature. They’re perfect as a sweet snack or dessert bite.
- Storage: Store in an airtight container in the refrigerator for up to a week.
- Freezing: These truffles freeze well. Store in a freezer-safe container for up to 2 months and thaw in the refrigerator before serving.
Variations
- Peanut Butter Drizzle: Drizzle melted peanut butter or peanut butter chips over the chocolate coating for extra flavor.
- Milk or Dark Chocolate: Use milk or dark chocolate chips for the coating instead of semi-sweet chocolate, depending on your preference.
- Extra Crunch: Roll the truffles in crushed nuts or extra Butterfinger crumbs before the chocolate hardens.
Helpful Tips
- Crushing Butterfingers: Place the candy bars in a resealable bag and crush them with a rolling pin, or use a food processor for a finer texture.
- Easy Dipping: Use a fork or candy dipping tool to make dipping smoother and avoid fingerprints on the truffles.
- Double Batch: These truffles are easy to double for larger gatherings or gifting.
Frequently Asked Questions
1. Can I use other types of candy bars?
Yes! Try using Snickers, Reese’s, or Kit Kats for different flavor combinations.
2. Can I make these without cream cheese?
Cream cheese is essential for binding and adding creaminess, but you could substitute with mascarpone or peanut butter for a different texture and flavor.
3. Do I need the shortening for the chocolate coating?
No, the shortening is optional, but it helps make the chocolate smoother and easier to work with.
4. Can I use white chocolate for the coating?
Absolutely! White chocolate works well and adds a nice contrast to the Butterfinger filling.
5. How do I keep the balls from sticking to my hands?
Chill the mixture briefly or use slightly damp hands to prevent sticking when rolling.
Butterfinger Balls are the perfect indulgent treat with their smooth filling and crunchy chocolate coating. They’re easy, delicious, and sure to disappear fast—so make plenty!

Butterfinger Balls: Decadent Butterfinger Chocolate Truffle Balls
Ingredients
- 2 cups crushed Butterfinger candy bars about 16 fun-sized bars
- 8 oz cream cheese softened
- 2 cups semi-sweet chocolate chips
- 1 tablespoon vegetable shortening optional, for smoother dipping
- Optional: Butterfinger or chocolate sprinkles for decoration
Instructions
- Mix Ingredients: In a large mixing bowl, combine the crushed Butterfinger candy bars and softened cream cheese. Mix until the ingredients are well blended and form a thick, consistent mixture.
- Form Balls: Roll the mixture into 1-inch balls and place them on a baking sheet lined with parchment or wax paper. Refrigerate the balls for 30 minutes to firm up.
- Melt Chocolate: Melt the semi-sweet chocolate chips in the microwave in 20-second intervals, stirring each time until smooth. If desired, add 1 tablespoon of vegetable shortening to the melted chocolate for a smoother coating.
- Dip Balls: Take the chilled Butterfinger balls out of the refrigerator and dip each one into the melted chocolate, coating them completely. Use a fork or dipping tool to lift each ball out, letting any excess chocolate drip off before placing it back on the lined baking sheet.
- Set and Decorate: Allow the coated balls to sit at room temperature or in the refrigerator until the chocolate has set. If desired, sprinkle with Butterfinger crumbs or chocolate sprinkles for decoration before the chocolate fully hardens.
Notes
- Texture Consistency: For a smoother mixture, ensure that the Butterfinger candy bars are finely crushed before mixing with the cream cheese.
- Chill for Easy Dipping: Chilling the balls makes them easier to dip without falling apart.
- Decoration Ideas: Add Butterfinger crumbs or colorful sprinkles on top for an extra festive touch.

