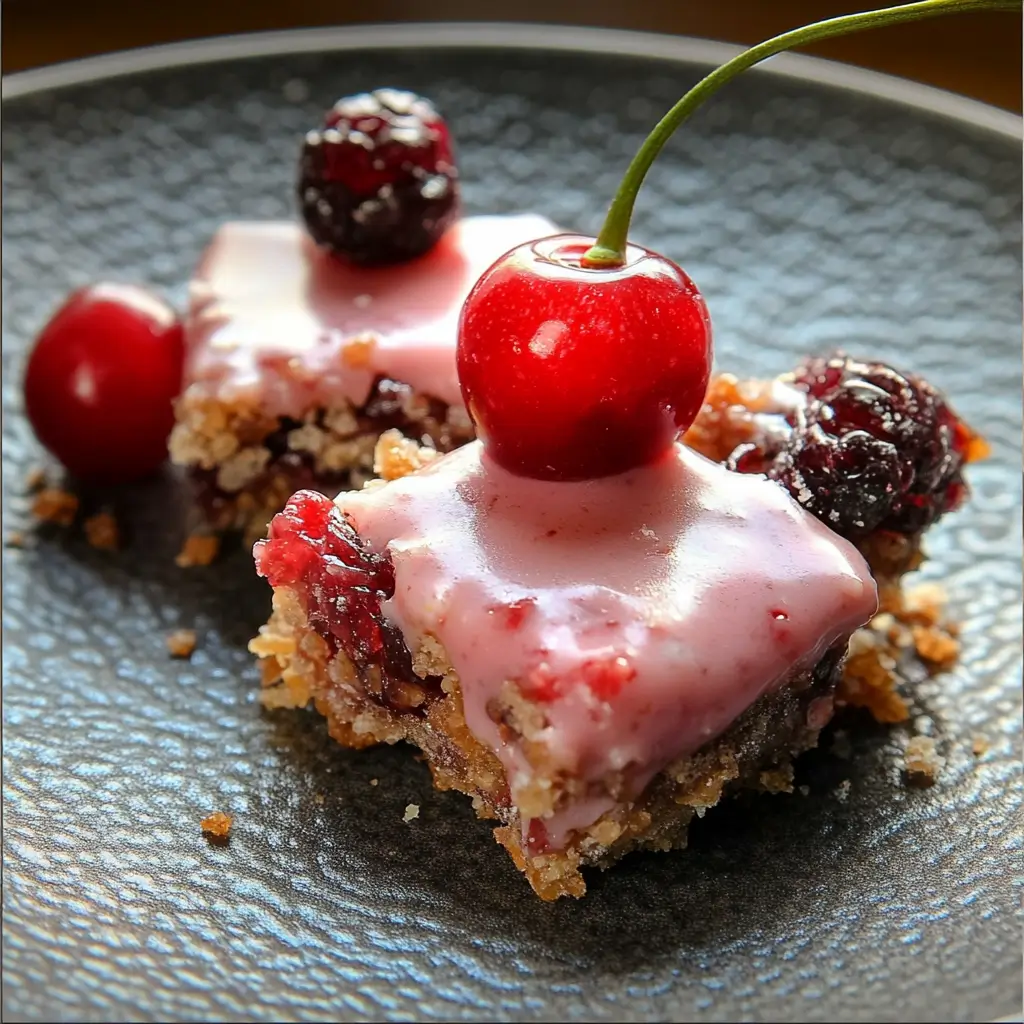
These Cherry Chews are a delightful dessert that’s sure to make a lasting impression at your next family gathering or holiday celebration. With a buttery base, sweet cherry filling, and a crunchy coconut and nut topping, each bite of these chewy bars offers the perfect balance of flavors and textures. Whether you’re hosting a party or just craving something sweet, these Cherry Chews are the perfect treat.
Why You’ll Love This Recipe
- Sweet and Tangy Cherry Filling: The rich, fruity cherry pie filling adds a pop of color and flavor to these bars.
- Crispy, Crunchy Topping: The coconut and nuts create a satisfying crunch that perfectly contrasts the soft and chewy base.
- Simple and Quick: This recipe comes together easily with simple ingredients you likely already have in your pantry. Plus, it only takes about an hour to prepare and bake!
Ingredients
For the Base:
- 1 cup (2 sticks) unsalted butter, softened
- 1 cup granulated sugar
- 2 large eggs
- 2 cups all-purpose flour
- 1 teaspoon baking powder
- 1/4 teaspoon salt
For the Filling:
- 1 can (21 ounces) cherry pie filling
- 1 teaspoon vanilla extract (optional)
For the Topping:
- 2 cups shredded sweetened coconut
- 3/4 cup chopped nuts (walnuts or pecans work well)
- 1/4 cup all-purpose flour
- 3/4 cup light brown sugar, packed
- 2 large eggs, lightly beaten
Kitchen Equipment Needed
- 9×13-inch baking dish
- Parchment paper
- Large mixing bowl
- Medium mixing bowl
- Electric mixer (optional)
- Whisk
- Spoon or spatula for spreading
- Cooling rack
Step-by-Step Instructions
Step 1: Prepare the Base
Preheat your oven to 350°F (175°C). Grease and line a 9×13-inch baking dish with parchment paper for easy removal after baking.
In a large mixing bowl, cream together the softened butter and granulated sugar using an electric mixer until light and fluffy. This should take about 2-3 minutes.
Add the eggs, one at a time, beating well after each addition. Make sure the mixture is smooth and creamy before proceeding.
In a separate bowl, whisk together the flour, baking powder, and salt. Gradually add the dry ingredients to the wet mixture, mixing just until combined. Be careful not to overmix, as this can lead to a dense base.
Spread the base mixture evenly into the prepared baking dish, smoothing the surface with a spatula or spoon.
Step 2: Add the Cherry Filling
Open the can of cherry pie filling and spread it evenly over the base layer. If desired, add 1 teaspoon of vanilla extract to the filling for extra flavor. The vanilla is optional, but it adds a subtle richness to the cherries.
Step 3: Make the Topping
In a medium bowl, combine the shredded coconut, chopped nuts, flour, and brown sugar. Stir to combine.
Next, add the lightly beaten eggs and mix until the topping forms a moist, crumble-like texture. The mixture will be thick and sticky, but that’s exactly what you want for a nice, chewy topping.
Step 4: Assemble and Bake
Sprinkle the coconut-nut topping evenly over the cherry filling, making sure to cover the entire surface.
Bake the Cherry Chews in the preheated oven for 30-35 minutes, or until the topping is golden brown and the edges are bubbly. The filling should be slightly set, and the coconut topping should have a nice crispy texture.
Step 5: Cool and Serve
Allow the Cherry Chews to cool completely in the pan before cutting into bars. This will help the bars firm up and make them easier to slice.
Once cooled, use the parchment paper to lift the bars out of the pan. Cut them into squares and serve. These bars can be served warm, at room temperature, or chilled—whichever you prefer!
Storage Tips:
Store any leftover Cherry Chews in an airtight container at room temperature for up to 3 days. They also freeze well, so if you have extra, simply freeze them for later enjoyment. Just make sure to store them in a freezer-safe container or bag.
Variations
- Nut-free Version: If you’re serving guests with nut allergies, simply omit the nuts and use extra coconut for the topping. You can also add a bit of oats to the topping to keep the texture similar.
- Berries and More: Swap out the cherry pie filling for another pie filling, like blueberry or raspberry, for a twist on this classic recipe. You can also add a handful of fresh or frozen berries to the filling for more fruity flavor.
- Chocolate Twist: Add a handful of chocolate chips to the topping for a rich and indulgent variation. Chocolate pairs wonderfully with the cherries!
Helpful Notes
- Butter temperature: Make sure your butter is softened before creaming it with the sugar. Soft butter helps to incorporate air into the mixture, resulting in a lighter, fluffier base.
- Let them cool: Let the Cherry Chews cool completely before cutting to ensure they hold together well and don’t crumble apart.
- Toppings: If you prefer a crispier topping, you can increase the baking time by 5-7 minutes, but watch closely to avoid burning the coconut.
Tips from Well-Known Chefs
- Martha Stewart: “When baking bars with fillings like cherry pie filling, it’s important to let them cool completely before cutting. This ensures the filling sets properly and the bars slice neatly.”
- Ina Garten: “For a crispier topping, make sure to toast the coconut before adding it to the mixture. It’ll add a wonderful depth of flavor.”
- Christina Tosi: “Bar desserts like these are all about balance—crispy edges with a chewy center. Don’t overbake them, and let them cool in the pan for that perfect texture.”
Frequently Asked Questions
Q: Can I use fresh cherries instead of pie filling?
A: Yes, you can use fresh or frozen cherries! However, fresh cherries will require some extra work. You’ll need to cook them down with a bit of sugar to create a filling consistency similar to pie filling.
Q: Can I make these Cherry Chews ahead of time?
A: Absolutely! These bars keep well and are actually better the next day once the flavors have had time to meld together. You can store them in an airtight container at room temperature for up to 3 days.
Q: Can I use sweetened condensed milk in place of the eggs for the topping?
A: Yes, you can use sweetened condensed milk in place of the eggs for a denser topping, but it will change the texture slightly. Reduce the sugar in the topping by half if you do so.
Q: How do I make sure the base doesn’t get too hard?
A: Be sure not to overmix the dough. Overmixing can make the dough dense and tough. Also, don’t bake the base for too long; it should be just firm enough to hold the cherry filling.
Q: Can I use a different type of nut?
A: Yes! Feel free to use any nuts you prefer, such as almonds, hazelnuts, or pistachios, for a unique twist on the topping.
These Cherry Chews are a fun, easy, and delicious treat that will brighten up any occasion. With their irresistible cherry filling, buttery base, and coconut-nut topping, they’re sure to become a favorite in your baking repertoire! Enjoy!


