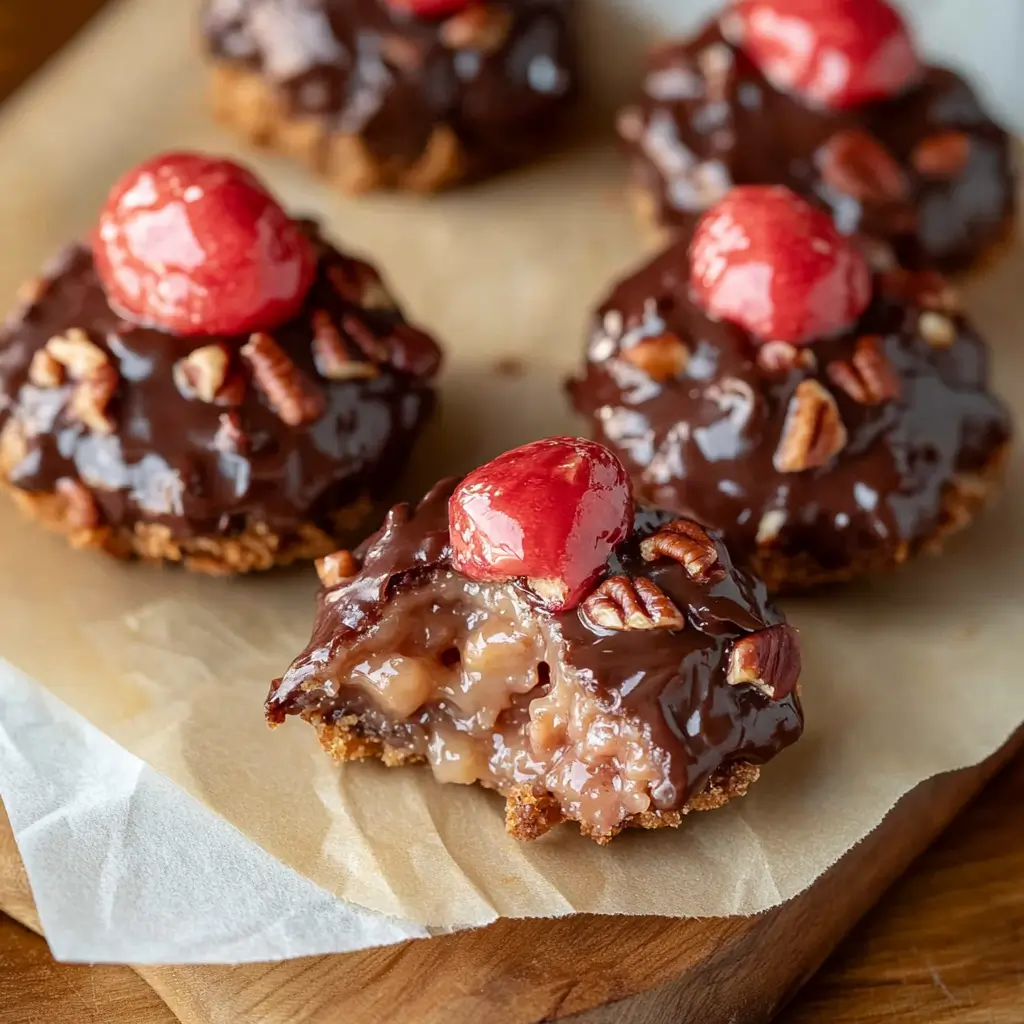
If you love the classic cherry mash candy from the store, this copycat recipe will bring that same sweet delight to your kitchen. Featuring a creamy cherry center wrapped in a crunchy chocolate and peanut coating, this homemade version is a perfect treat for special occasions or to satisfy your candy cravings.
Why You’ll Love This Recipe
- Classic Flavor: Just like the store-bought candy, but even fresher and more flavorful.
- Simple Ingredients: Made with everyday pantry staples.
- Great for Gifting: These candies are perfect for sharing during holidays or as party favors.
- Make-Ahead Friendly: Store well, making them an ideal prep-ahead treat.
- Customizable: Adjust the sweetness or chocolate coating to suit your preferences.
Ingredients
- For the Cherry Filling:
- 1 pound powdered sugar (~4.5 cups or 453g)
- 6 tablespoons unsalted butter, softened (85g)
- 1/2 teaspoon vanilla extract
- 1/2 teaspoon almond extract
- 3 tablespoons sweetened condensed milk (64g)
- 1 10-ounce jar maraschino cherries, drained and chopped (cherries only = 133g)
- For the Chocolate Coating:
- 20 ounces total chocolate (10 oz almond bark + 10 oz bittersweet chocolate chips)
- 1 1/4 cups cocktail peanuts, chopped (180g)
Kitchen Equipment Needed
- Stand mixer (or handheld mixer)
- Baking sheet
- Parchment paper
- Microwave-safe bowl
- Fork (for dipping)
- Spatula
Step-by-Step Directions
Step 1: Prepare the Cherry Filling
- Line a baking sheet with parchment paper and set aside.
- In the bowl of a stand mixer, combine powdered sugar, softened butter, vanilla extract, almond extract, sweetened condensed milk, and chopped cherries.
- Mix slowly for 30 seconds, allowing the powdered sugar to incorporate. Increase to medium speed and mix for 2 minutes. Stop to scrape down the sides of the bowl, then continue mixing for another 2 minutes, or until the filling is well combined and fluffy. If needed, mix on high speed for 1 additional minute. The filling should be thick but airy.
Step 2: Shape the Cherry Centers
- Scoop the cherry filling onto the prepared baking sheet. Freeze for 1 hour.
- Remove the frozen filling from the freezer. Peel each portion off the parchment paper and roll it into a smooth ball using your hands.
- Place the rolled centers back onto the baking sheet. Repeat with all the filling. Return the tray to the freezer for another 30 minutes.
Step 3: Make the Chocolate Coating
- Chop the almond bark and bittersweet chocolate. Add both to a microwave-safe bowl.
- Melt the chocolate in the microwave in 30-second intervals, stirring after each until smooth.
- Stir the chopped cocktail peanuts into the melted chocolate, ensuring they are evenly distributed.
Step 4: Coat the Candy Centers
- Remove the frozen cherry centers from the freezer. Using a fork, dip each center into the melted chocolate mixture, ensuring it is fully coated.
- Work quickly to prevent the warm chocolate from softening the centers too much.
- Place the dipped candies onto a clean piece of parchment paper. Allow the chocolate to harden completely.
Step 5: Store and Serve
- Once set, transfer the candies to an airtight container. These will keep well at room temperature or in the fridge for longer storage.
Serving and Storage Tips
- Serving: Enjoy these candies as a sweet snack, add them to a dessert platter, or include them in gift boxes.
- Storage: Store in an airtight container at room temperature for up to 5 days or in the refrigerator for up to 2 weeks.
- Freezing: Freeze in an airtight container for up to 3 months. Thaw at room temperature before serving.
Variations
- Nut-Free Option: Omit the peanuts and use crushed pretzels or toasted coconut instead.
- Milk Chocolate Coating: Replace bittersweet chocolate with milk chocolate for a sweeter flavor.
- Cherry-Almond Twist: Add 1 tablespoon of Amaretto or cherry liqueur to the filling for an adult-friendly version.
- Layered Coating: Dip the centers in plain melted chocolate first, let set, then coat again with the chocolate-peanut mixture for extra crunch.
Helpful Notes
- Ensure the cherry centers are well-frozen before dipping to prevent them from softening in the warm chocolate.
- Use parchment paper to avoid sticking and make cleanup easier.
- For evenly chopped peanuts, pulse them a few times in a food processor.
Tips from Well-Known Chefs
- Ina Garten: “Good chocolate makes great candy—choose high-quality chocolate for the best results.”
- Mary Berry: “Let the filling rest in the freezer; a well-chilled center makes dipping much easier.”
- Ree Drummond: “Work in small batches when dipping candy to keep the centers cold and the chocolate smooth.”
Frequently Asked Questions
1. Can I use other types of cherries?
Yes, you can use dried cherries soaked in a little water or juice, but the texture and flavor will differ slightly.
2. What can I substitute for almond bark?
Use additional chocolate chips or melting wafers if almond bark isn’t available.
3. How can I prevent the chocolate from hardening too quickly during dipping?
Work in small batches and keep the chocolate over a warm water bath or reheat briefly if it begins to harden.
4. Can I make these candies smaller or larger?
Yes! Adjust the size of the centers to your preference, but note that smaller candies may require less chilling time.
5. Do I need a stand mixer for this recipe?
No, a handheld mixer works just as well, though mixing times may vary slightly.
These Cherry Mash Candies are a delightful combination of creamy cherry filling, crunchy peanuts, and rich chocolate. Perfect for holidays, parties, or any time you’re craving a nostalgic treat, they’re sure to become a household favorite!

