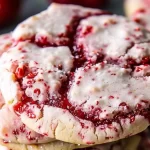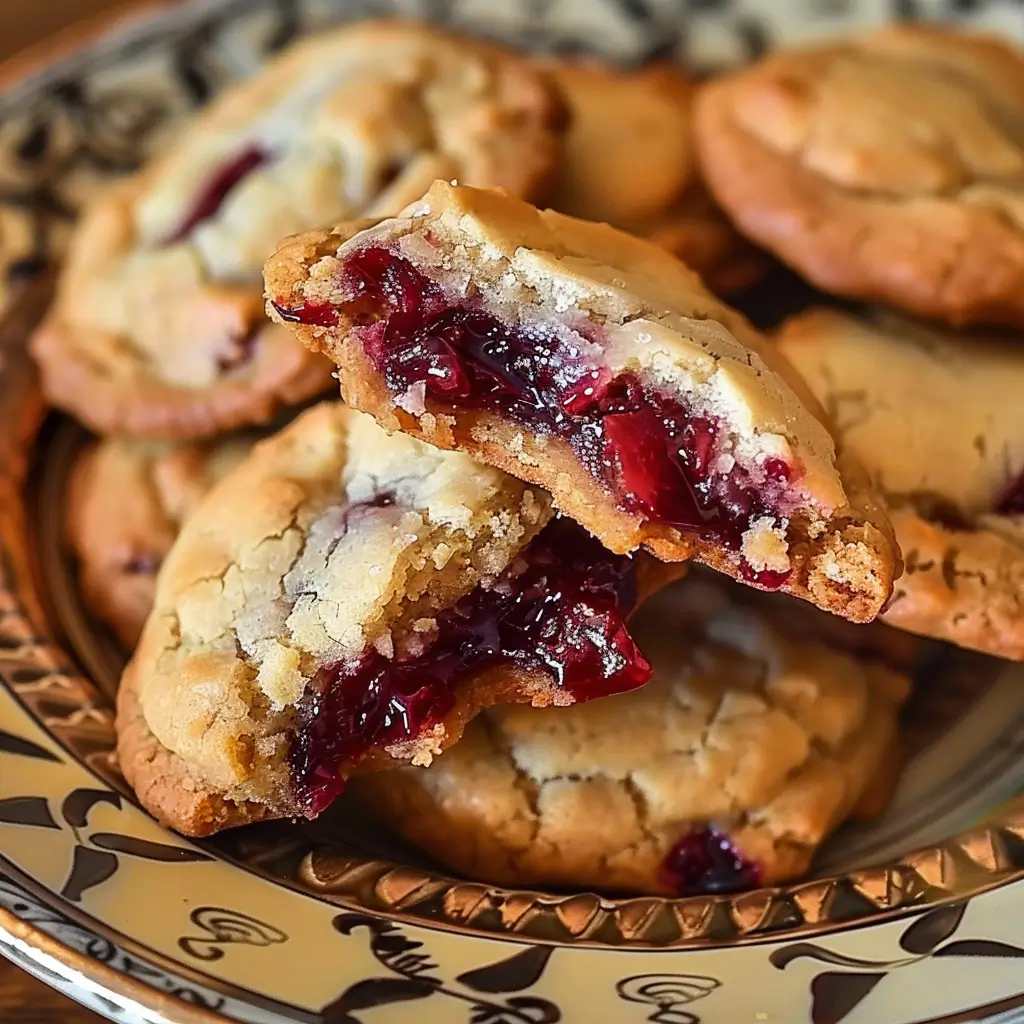
These Cherry Pie Stuffed Cookies bring the best of both worlds by combining the buttery goodness of a classic cookie with a hidden burst of cherry pie filling. Perfect for cherry lovers and cookie enthusiasts alike, these cookies are an impressive treat that’s surprisingly easy to make. With a soft, chewy exterior and a sweet, tangy filling, they’re great for dessert tables, holiday gatherings, or any time you’re in the mood for something special.
Ingredients
For the Cookie Dough:
- 2 1/4 cups all-purpose flour
- 1 teaspoon baking soda
- 1/2 teaspoon salt
- 1 cup unsalted butter, softened
- 3/4 cup granulated sugar
- 3/4 cup brown sugar, packed
- 1 teaspoon vanilla extract
- 2 large eggs
For the Cherry Filling:
- 1 can (21 oz) cherry pie filling
- 1 teaspoon almond extract (optional, for extra flavor)
Directions
Prepare the Cookie Dough
- Preheat Oven: Preheat your oven to 350°F (175°C) and line a baking sheet with parchment paper.
- Mix Dry Ingredients: In a medium bowl, whisk together the flour, baking soda, and salt. Set aside.
- Cream Butter and Sugars: In a large mixing bowl, use an electric mixer to cream together the softened butter, granulated sugar, and brown sugar until light and fluffy, about 2-3 minutes.
- Add Eggs and Vanilla: Beat in the eggs one at a time, followed by the vanilla extract. Mix until smooth.
- Combine Wet and Dry Ingredients: Gradually add the dry ingredients to the wet mixture, mixing until just combined. Avoid overmixing to keep the cookies soft.
Assemble the Stuffed Cookies
- Flatten Dough and Add Filling: Using a cookie scoop or tablespoon, portion out a small amount of dough and flatten it in your hand. Place a spoonful of cherry pie filling in the center of the dough. Add a small drop of almond extract to the filling if using for extra flavor.
- Wrap and Shape: Carefully wrap the dough around the cherry filling, forming a ball. Make sure the cherry filling is fully enclosed to prevent leaks during baking.
- Place on Baking Sheet: Arrange the stuffed cookies on the prepared baking sheet, spacing them about 2 inches apart to allow for spreading.
Bake the Cookies
- Bake: Bake the cookies for 12-15 minutes, or until the edges are lightly golden. The cookies may appear slightly soft in the center, but they will firm up as they cool.
- Cool: Allow the cookies to cool on the baking sheet for a few minutes before transferring them to a wire rack to cool completely. Enjoy warm for a gooey cherry center!
Serving and Storage Tips
- Serving: These cookies are delicious warm, straight from the oven, but they’re also great at room temperature. Pair them with a glass of milk or a cup of coffee for a cozy treat.
- Storage: Store leftover cookies in an airtight container at room temperature for up to 3 days. For longer storage, refrigerate them for up to a week.
- Freezing: You can freeze the unbaked stuffed cookie dough balls for up to 3 months. Bake from frozen, adding an extra minute or two to the baking time.
Helpful Notes
- Prevent Leaks: Make sure to fully enclose the cherry filling in the dough to prevent any leaks during baking.
- Use Chilled Dough for Easier Handling: If the dough becomes too soft to handle, chill it in the refrigerator for 15-20 minutes before assembling the cookies.
- Customize the Filling: For a twist, try using other pie fillings such as blueberry or apple. Adjust the amount of filling to ensure the cookies can be easily wrapped.
Tips from Well-Known Chefs
- Chill Dough for Consistency: Chef Claire Saffitz recommends chilling the dough briefly to help with shaping and prevent the cookies from spreading too much.
- Use a Small Scoop for Even Filling: Chef Dorie Greenspan suggests using a small cookie scoop or melon baller to portion the cherry filling, making it easier to handle and ensuring a consistent filling in each cookie.
- Try a Sprinkle of Sugar on Top: Chef Mary Berry advises adding a sprinkle of granulated sugar or coarse sugar on top before baking for added texture and a little sparkle.
Frequently Asked Questions
1. Can I use homemade cherry pie filling?
Yes, homemade cherry pie filling works wonderfully. Just make sure it’s thick and not too runny.
2. Can I substitute the cherry filling with another fruit filling?
Absolutely! Blueberry, apple, or raspberry pie filling are great alternatives. Make sure to chop larger fruit pieces for easier wrapping.
3. How do I keep the cookies from spreading too much?
Chilling the dough before baking and using a parchment-lined baking sheet can help control spreading.
4. Can I add chocolate chips to the dough?
Yes, adding chocolate chips or white chocolate chips would pair nicely with the cherry filling.
5. What’s the best way to flatten the dough without it sticking?
Use lightly floured hands or place the dough between two sheets of plastic wrap to prevent sticking.
6. How do I make the dough easier to handle?
If the dough becomes too sticky, chill it in the refrigerator for 15-20 minutes to firm it up.
7. Can I make mini versions of these cookies?
Yes, just use smaller portions of dough and filling. Adjust the baking time to 8-10 minutes, as smaller cookies will bake more quickly.
8. Can I skip the almond extract?
Yes, almond extract is optional. It adds a subtle flavor that complements cherries, but the cookies are delicious without it as well.
9. Do I need to drain the cherry pie filling?
No need to drain, but try to scoop mainly the cherries rather than too much syrup to prevent the filling from becoming too runny.
10. Can I freeze baked cookies?
Yes, you can freeze the baked cookies. Store them in an airtight container or freezer bag for up to 3 months. Thaw at room temperature before serving.
These Cherry Pie Stuffed Cookies are a delightful way to enjoy the flavors of cherry pie in a fun and unique cookie form. Perfect for sharing or as a special treat for yourself, these cookies are sure to bring smiles to anyone who takes a bite. Enjoy baking and savoring this sweet surprise!