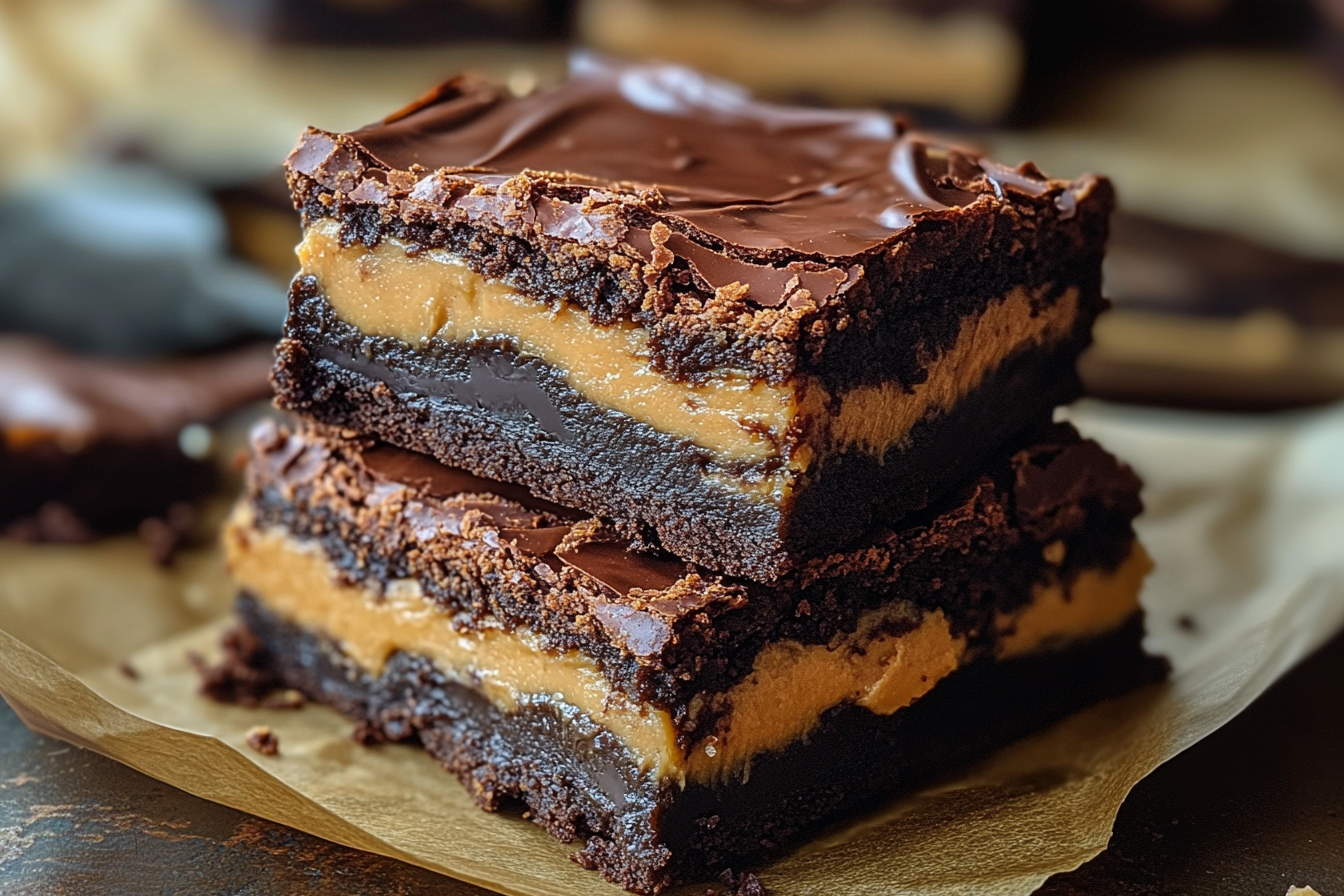
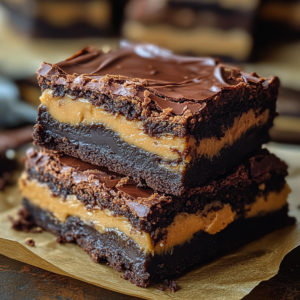
Chocolate Peanut Butter Brownie Bars are the ultimate indulgent dessert. With a rich, fudgy brownie base, a creamy peanut butter middle, and a luscious chocolate ganache topping, these bars are pure decadence in every bite. Whether you’re treating yourself after a long day, making something special for a party, or looking for the perfect bake-sale star, these brownie bars are a guaranteed crowd-pleaser.
My love for brownies started when I was a little girl. I remember coming home from school, and my mom would have a plate of warm brownies waiting on the counter. They were the cure-all for bad days and a celebration for good ones.
Years later, I decided to experiment with adding layers, and that’s how these Chocolate Peanut Butter Brownie Bars were born. They combine all my favorite flavors into one beautiful, decadent dessert. Now, every time I make them, I’m reminded of those sweet, simple moments in my childhood kitchen.
Chocolate Peanut Butter Brownie Bars: The Perfect Indulgence
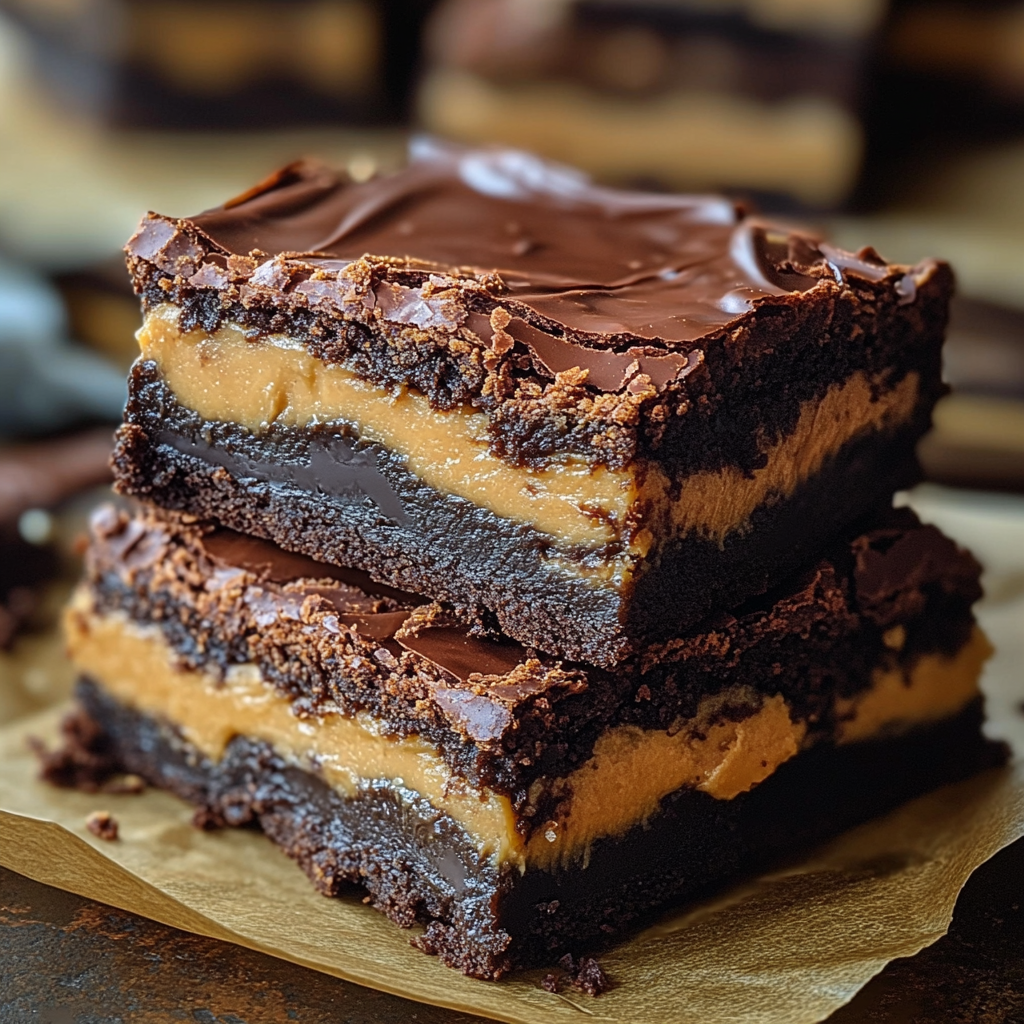
Every bite of these Chocolate Peanut Butter Brownie Bars is a delight. First, you’ll taste the fudgy richness of the chocolate brownie layer, followed by the creamy, slightly salty peanut butter layer, and finally, the smooth, velvety chocolate ganache on top. The layers create a stunning visual contrast that makes these bars as beautiful as they are delicious. They’re perfect for birthdays, potlucks, or just when you need a treat to brighten your day.
Why Our Chocolate Peanut Butter Brownie Bars Are the Best
Our Chocolate Peanut Butter Brownie Bars offer the perfect balance of chocolatey richness and peanut butter creaminess. The ganache topping adds a touch of elegance, making them ideal for any occasion. With simple steps and easy-to-find ingredients, you can create a professional-looking dessert that tastes even better than it looks.
Ingredients Notes For Chocolate Peanut Butter Brownie Bars
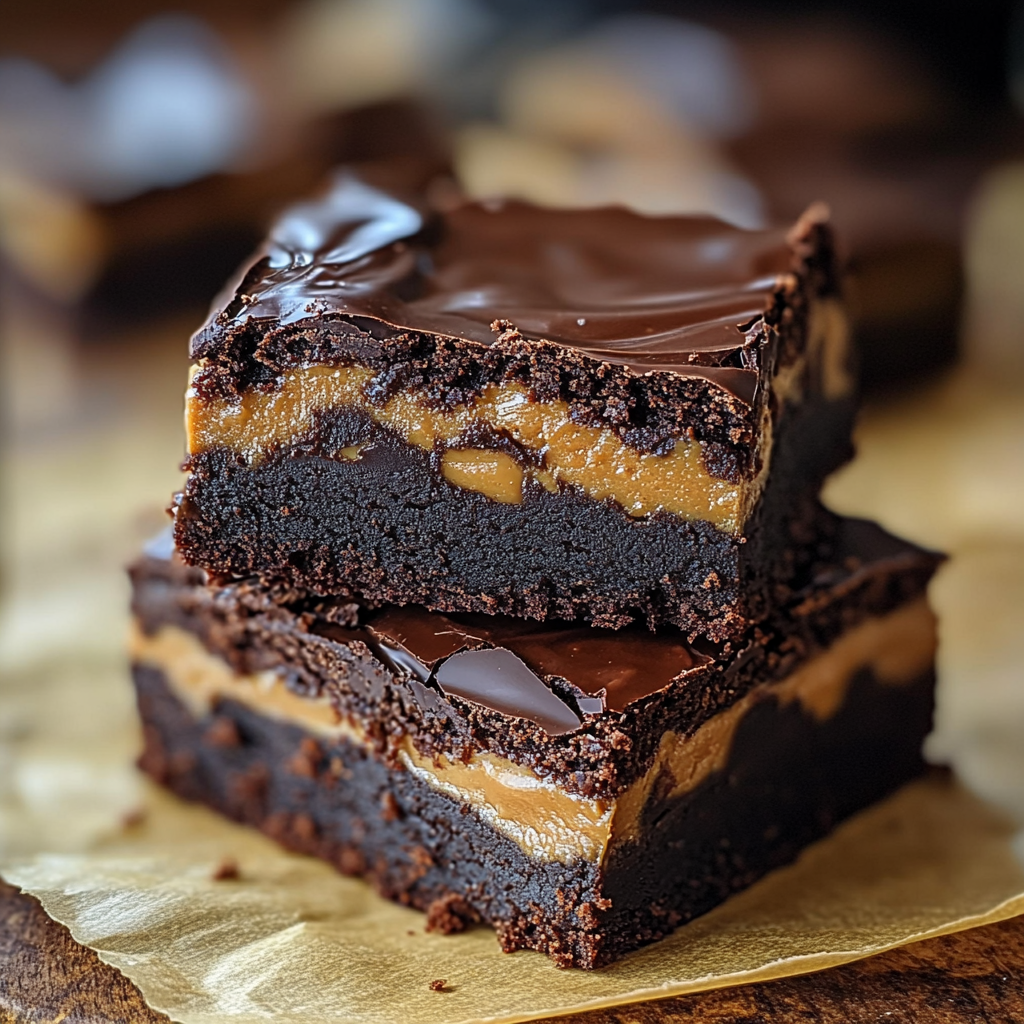
Each layer of these Chocolate Peanut Butter Brownie Bars brings something special to the dessert. Here’s what you’ll need:
For the Brownie Layer:
- Unsalted Butter (1 cup, 2 sticks): Adds richness and keeps the brownies moist.
- Granulated Sugar (1 cup) and Brown Sugar (1 cup): A combination of sugars adds depth of flavor and sweetness.
- Unsweetened Cocoa Powder (1 cup): Creates a rich, chocolatey base.
- Large Eggs (4): Provide structure and moisture to the brownies.
- Vanilla Extract (1 teaspoon): Enhances the chocolate flavor.
- All-Purpose Flour (1 cup): The base of the brownies.
- Salt (½ teaspoon): Balances the sweetness.
For the Peanut Butter Layer:
- Creamy Peanut Butter (1 cup): The star of the layer, offering creamy, nutty goodness.
- Unsalted Butter (½ cup, softened): Adds smoothness to the layer.
- Powdered Sugar (2 cups): Sweetens the peanut butter filling.
- Vanilla Extract (1 teaspoon): Enhances the overall flavor.
- Milk (2-3 tablespoons): Adjusts the consistency for easy spreading.
For the Chocolate Ganache Topping:
- Semi-Sweet Chocolate Chips (1½ cups): The key to a rich, glossy ganache.
- Heavy Cream (½ cup): Creates the velvety texture of the ganache.
Kitchen Tools Needed For Chocolate Peanut Butter Brownie Bars
- 9×13-inch baking pan
- Parchment paper (optional)
- Medium saucepan
- Mixing bowls (medium and large)
- Hand or stand mixer
- Microwave-safe bowl or small saucepan
- Offset spatula
- Sharp knife
How to Make Chocolate Peanut Butter Brownie Bars
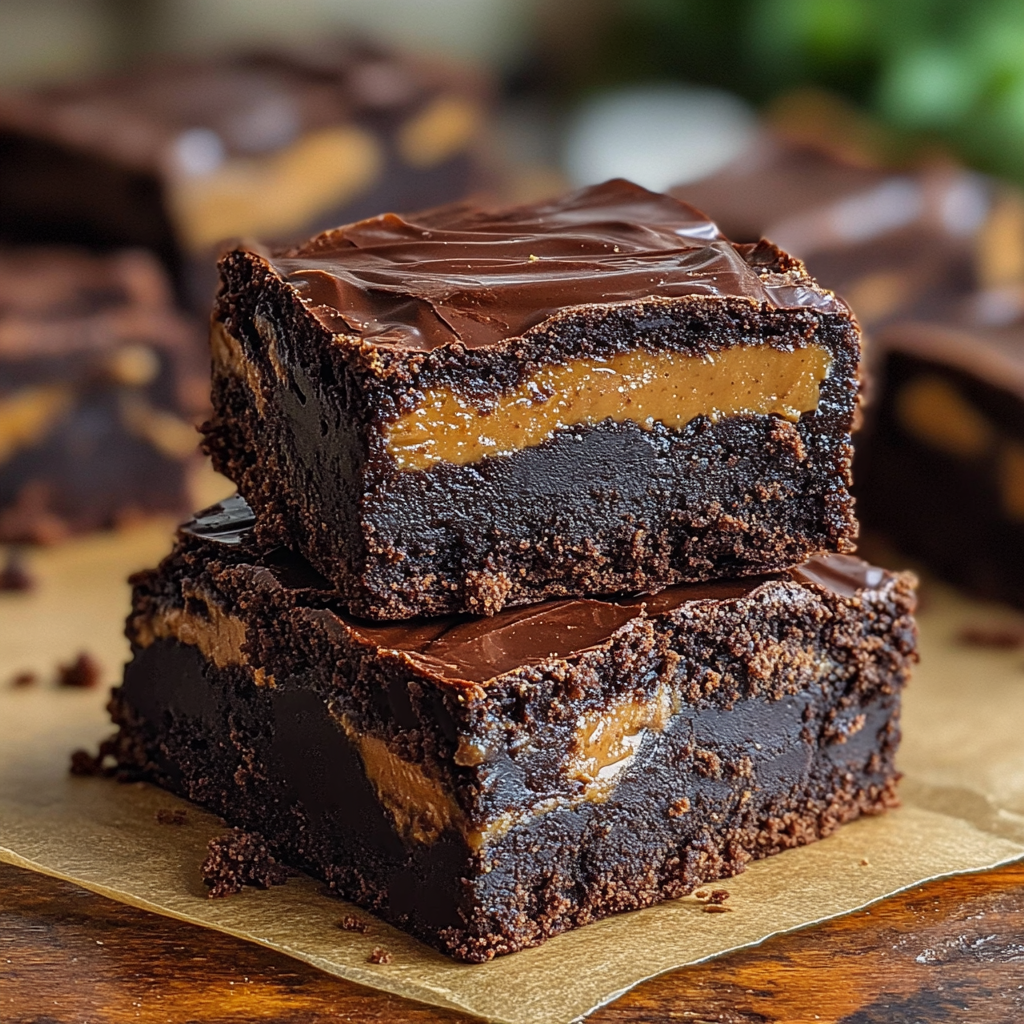
This is where the magic happens! Follow these steps for the perfect dessert.
1. Prepare the Brownie Layer
Preheat your oven to 350°F (175°C) and grease your 9×13-inch baking pan, or line it with parchment paper for easy removal.
In a medium saucepan over low heat, melt the butter. Remove from heat and stir in the granulated sugar, brown sugar, and cocoa powder until smooth and glossy.
Whisk in the eggs, one at a time, ensuring each egg is fully incorporated before adding the next. Stir in the vanilla extract.
Add the flour and salt, mixing just until combined. Avoid overmixing to keep the brownies tender.
Spread the brownie batter evenly into the prepared pan and bake for 25–30 minutes, or until a toothpick inserted into the center comes out with a few moist crumbs. Let the brownies cool completely in the pan.
2. Prepare the Peanut Butter Layer
In a large mixing bowl, beat the peanut butter and softened butter together until creamy and smooth.
Gradually add the powdered sugar, mixing until fully incorporated.
Stir in the vanilla extract. Add milk, one tablespoon at a time, until the mixture is spreadable but not too thin.
Spread the peanut butter mixture evenly over the cooled brownies. Place the pan in the refrigerator while you prepare the ganache.
3. Prepare the Chocolate Ganache
In a microwave-safe bowl or small saucepan, heat the heavy cream until steaming (but not boiling).
Pour the hot cream over the chocolate chips and let it sit for 2-3 minutes to soften the chocolate.
Stir the mixture until smooth and glossy.
Pour the ganache over the peanut butter layer, spreading it evenly with an offset spatula.
4. Chill and Serve
Refrigerate the assembled bars for at least 2 hours, or until the layers are set and firm.
Once chilled, cut the bars into squares or rectangles. For clean slices, use a sharp knife and wipe it with a warm, damp cloth between cuts.
How to Store Chocolate Peanut Butter Brownie Bars
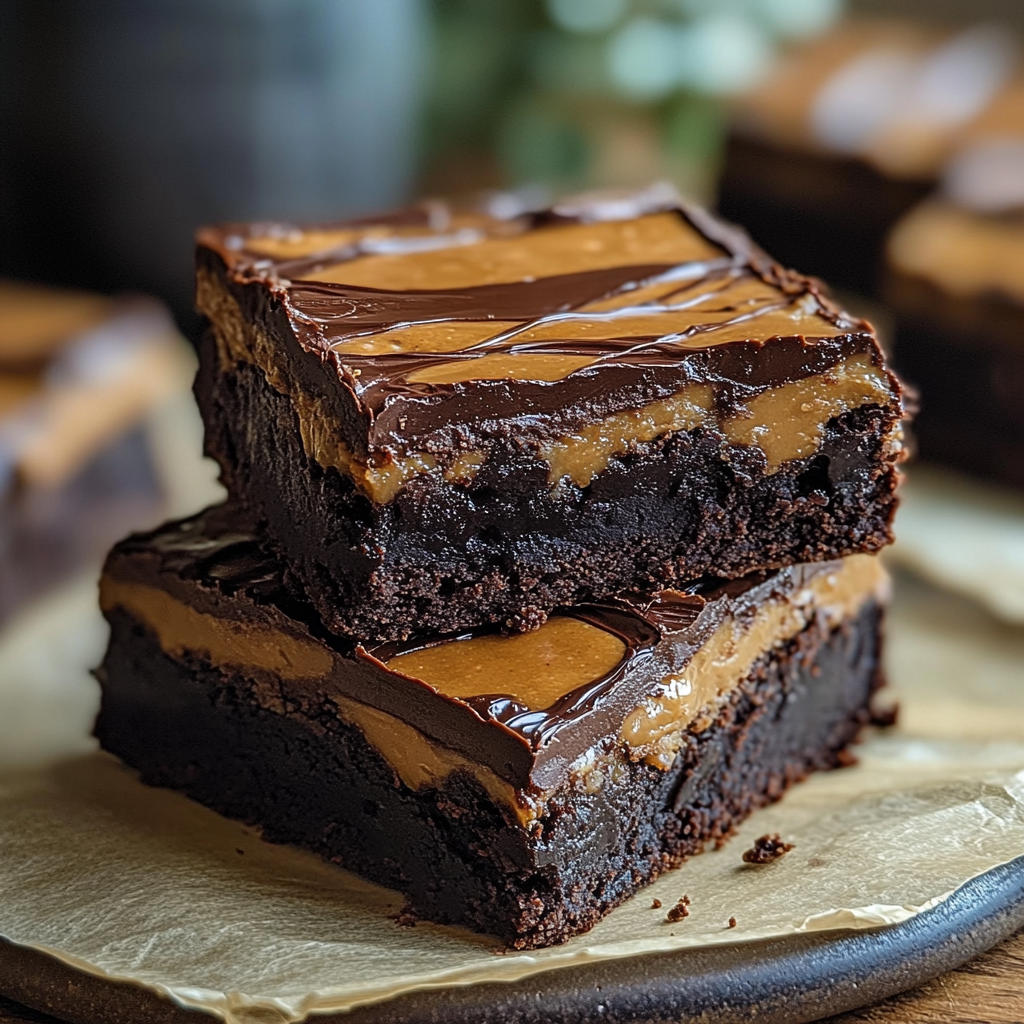
Store these bars in an airtight container in the refrigerator for up to 5 days. Place waxed or parchment paper between the layers to prevent sticking. For longer storage, you can freeze them for up to 3 months. Let the bars thaw in the refrigerator before serving for best results.
Chocolate Peanut Butter Brownie Bars Variations
- Dark Chocolate Peanut Butter Bars: Use dark chocolate chips in the ganache for a richer, less sweet flavor.
- Crunchy Peanut Butter Layer: Swap creamy peanut butter for crunchy to add texture to the filling.
- Salted Chocolate Ganache: Sprinkle a pinch of flaky sea salt over the ganache for a sweet-and-salty twist.
Experiment with these variations to make the recipe your own!
What to Serve With Chocolate Peanut Butter Brownie Bars
These bars pair wonderfully with a glass of cold milk or a hot cup of coffee. For a more decadent treat, serve them with a scoop of vanilla or chocolate ice cream. At parties, they’re delightful alongside a platter of fresh berries or a warm caramel sauce for dipping.
Top Tips for Perfect Chocolate Peanut Butter Brownie Bars
- Line the Pan: Use parchment paper for easy removal and clean cuts.
- Cool Completely: Make sure the brownies are fully cooled before adding the peanut butter layer to prevent melting.
- Smooth Layers: Use an offset spatula to spread each layer evenly for a professional look.
- Chill Before Slicing: Chilling the bars ensures clean, neat slices.
- Wipe Your Knife: A clean, warm knife prevents smearing when cutting through the layers.
Helpful Notes
- Use high-quality chocolate chips for the best flavor in the ganache.
- If the ganache seems too thick to spread, warm it gently for a smoother consistency.
- Don’t overbake the brownies—they should be moist and fudgy.
Tips from Well-Known Chefs
- Martha Stewart: Always use room-temperature ingredients for smooth, evenly mixed layers.
- Claire Saffitz: Add a tablespoon of corn syrup to the ganache for an extra glossy finish.
- Ree Drummond: Chill each layer thoroughly before adding the next to ensure clean separation.
Frequently Asked Questions (FAQ)
1. Can I use natural peanut butter?
Yes, but make sure it’s well-stirred to avoid an oily texture in the peanut butter layer.
2. How long should I chill the bars?
At least 2 hours, but overnight is even better for the best texture.
3. Can I use milk chocolate instead of semi-sweet?
Absolutely! Milk chocolate will create a sweeter ganache.
4. Can I make these gluten-free?
Yes, substitute the all-purpose flour with a 1:1 gluten-free baking mix.
5. How do I keep the ganache layer shiny?
Avoid overheating the chocolate and use high-quality chips for the best results.
More Delicious Dessert Recipes
These Chocolate Peanut Butter Brownie Bars are sure to become a new favorite. Happy baking!
Chocolate Peanut Butter Brownie Bars
Ingredients
For the Brownie Layer:
- – 1 cup 2 sticks unsalted butter
- – 1 cup granulated sugar
- – 1 cup brown sugar
- – 1 cup unsweetened cocoa powder
- – 4 large eggs
- – 1 teaspoon vanilla extract
- – 1 cup all-purpose flour
- – ½ teaspoon salt
For the Peanut Butter Layer:
- – 1 cup creamy peanut butter
- – ½ cup unsalted butter softened
- – 2 cups powdered sugar
- – 1 teaspoon vanilla extract
- – 2-3 tablespoons milk adjust for desired consistency
For the Chocolate Ganache Topping:
- – 1½ cups semi-sweet chocolate chips
- – ½ cup heavy cream
Instructions
- – Preheat the oven to 350°F (175°C) and grease a 9×13-inch baking pan or line it with parchment paper.
- – In a medium saucepan over low heat, melt the butter. Remove from heat and stir in the granulated sugar, brown sugar, and cocoa powder until smooth.
- – Whisk in the eggs, one at a time, ensuring each is fully incorporated before adding the next. Stir in the vanilla extract.
- – Add the flour and salt, mixing just until combined. Do not overmix.
- – Spread the brownie batter evenly into the prepared pan and bake for 25–30 minutes, or until a toothpick inserted into the center comes out with a few moist crumbs.
- – Allow the brownies to cool completely in the pan.
- – In a large mixing bowl, beat the peanut butter and softened butter together until smooth and creamy.
- – Gradually add the powdered sugar and mix well.
- – Stir in the vanilla extract and add milk, one tablespoon at a time, until the mixture is spreadable but not too thin.
- – Spread the peanut butter mixture evenly over the cooled brownies. Chill in the refrigerator while you prepare the ganache.
- – In a microwave-safe bowl or a small saucepan, heat the heavy cream until steaming (but not boiling).
- – Pour the hot cream over the chocolate chips and let it sit for 2-3 minutes.
- – Stir the mixture until smooth and glossy.
- – Pour the ganache over the peanut butter layer, spreading it evenly with an offset spatula.
- – Refrigerate the assembled bars for at least 2 hours, or until the layers are set.
- – Once chilled, cut into squares or rectangles. Use a sharp knife for clean cuts, wiping it with a warm, damp cloth between slices.

