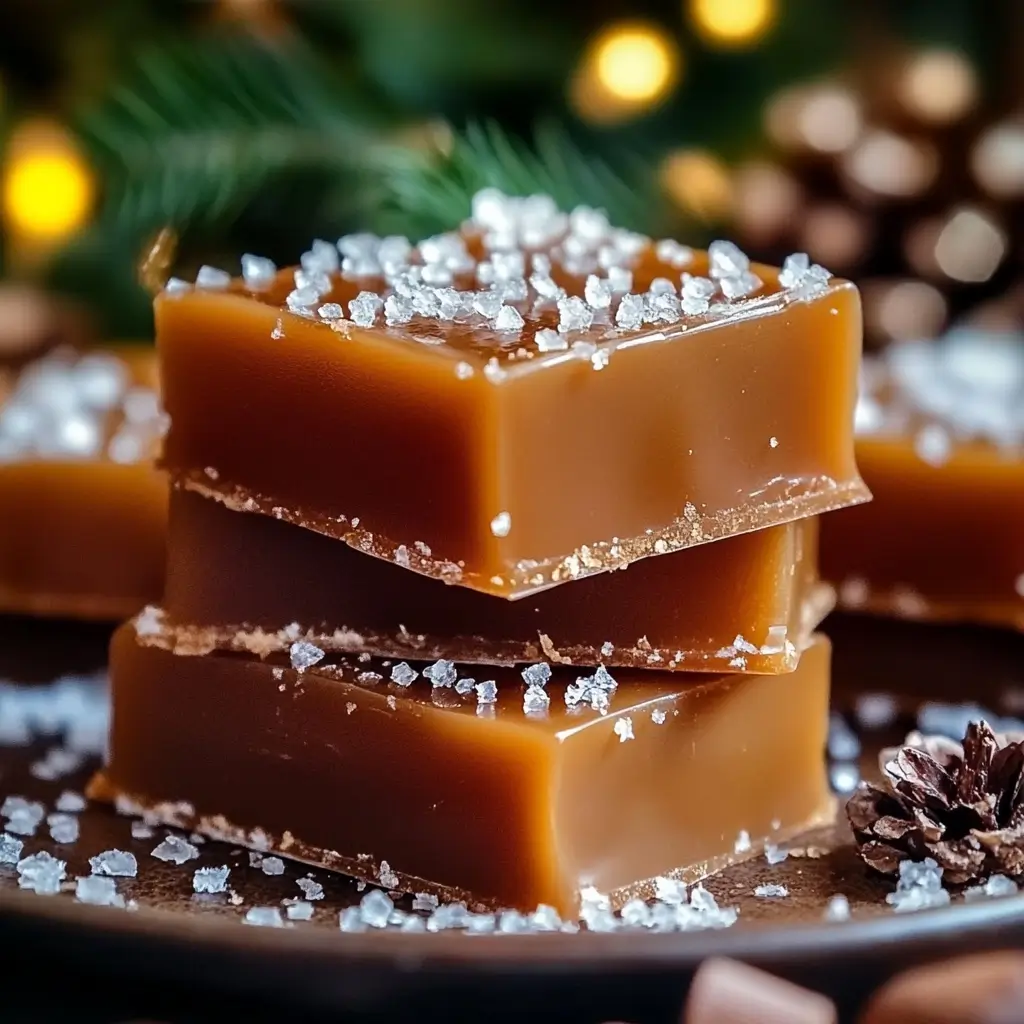
These classic, buttery Christmas caramels are a delicious treat with a soft, chewy texture and rich flavor. Made with a hint of vanilla and an optional sprinkle of sea salt, these caramels are perfect for holiday gifting, parties, or indulging at home!
Why You’ll Love This Recipe
- Soft and Chewy: These caramels have a perfect texture that’s both soft and satisfyingly chewy.
- Rich and Buttery: Made with real butter, brown sugar, and sweetened condensed milk for a rich flavor.
- Perfect for Gifting: Individually wrap the caramels in wax paper or cellophane for a festive holiday gift.
- Simple Ingredients: Only a handful of pantry staples are needed.
Ingredients
- 1 cup unsalted butter
- 2 1/4 cups packed brown sugar
- 1 cup light corn syrup
- 1 (14 oz) can sweetened condensed milk
- 1 teaspoon vanilla extract
- 1/4 teaspoon salt
- Optional: Sea salt for sprinkling on top
Step-by-Step Directions
- Prepare the Pan:
- Line an 8×8 inch baking pan with parchment paper, leaving a slight overhang on each side for easy removal. Lightly grease the parchment with a bit of butter to prevent sticking.
- Melt the Butter:
- In a large, heavy-bottomed saucepan, melt the butter over medium heat without browning it.
- Combine Ingredients:
- Add the brown sugar, corn syrup, sweetened condensed milk, and salt to the melted butter. Stir continuously until the ingredients are well combined and smooth.
- Bring to a Boil and Cook:
- Increase the heat slightly to bring the mixture to a gentle boil. Attach a candy thermometer to the side of the pan, ensuring it doesn’t touch the bottom.
- Continue cooking the caramel mixture over medium-low heat, stirring frequently, until it reaches 245°F (118°C) (firm ball stage). This should take about 20-25 minutes.
- Add Vanilla:
- Remove the pan from the heat and stir in the vanilla extract.
- Pour and Set:
- Carefully pour the hot caramel mixture into the prepared baking pan, using a spatula to spread it evenly. Allow it to cool at room temperature for at least 2 hours, or until fully set.
- Cut into Squares:
- Once the caramel is firm, lift it out of the pan using the parchment paper overhang. Use a sharp knife to cut the caramel into small squares or rectangles.
- Optional Sea Salt Topping:
- For a sweet and salty twist, sprinkle sea salt over the caramel before it fully sets.
Kitchen Equipment Needed
- Large, heavy-bottomed saucepan
- Candy thermometer
- 8×8-inch baking pan
- Parchment paper
- Whisk or spatula for stirring
- Sharp knife for cutting caramels
Serving and Storage Tips
- Serving: Serve caramels as a holiday treat, or wrap them individually in wax paper or cellophane for gift-giving.
- Storage: Store caramels in an airtight container at room temperature for up to 2 weeks, or refrigerate for up to a month.
- Freezing: Wrap individual caramels in wax paper, then place in a freezer-safe bag. They’ll keep well in the freezer for up to 3 months.
Recipe Variations
- Sea Salted Caramel: For an extra layer of flavor, sprinkle flaky sea salt on top of the caramel while it’s still warm.
- Chocolate-Dipped Caramels: Dip each caramel in melted chocolate and let it set on wax paper for a festive twist.
- Nutty Caramels: Stir in chopped nuts, like pecans or almonds, just before pouring the caramel into the pan.
Helpful Notes
- Reaching the Right Temperature: Reaching 245°F is crucial for the correct texture. If the caramel doesn’t reach this temperature, it may be too soft; if it goes higher, it could become hard and brittle.
- Using a Candy Thermometer: A candy thermometer is essential for accuracy. Make sure the thermometer is well-calibrated and doesn’t touch the bottom of the pan.
- Watch the Caramel Closely: Stir frequently as it cooks to prevent burning and ensure even cooking.
Tips from Candy Makers
- Chef Jacques Torres: “Use a heavy-bottomed saucepan to prevent hotspots, which can cause the caramel to burn.”
- Chef Ina Garten: “A dash of vanilla adds warmth and depth, but don’t be afraid to add a few drops of almond or maple extract for a unique twist.”
Frequently Asked Questions
Q1: Can I make these caramels without a candy thermometer?
While a thermometer is ideal, you can test the caramel by dropping a small amount into cold water. If it forms a firm, pliable ball, it’s ready.
Q2: Why is my caramel too hard?
If the caramel is hard, it was likely cooked beyond 245°F. Next time, remove it from heat a few degrees earlier.
Q3: Can I use dark brown sugar instead of light brown sugar?
Yes, dark brown sugar will create a deeper, richer flavor.
Q4: How do I keep the caramel from sticking when cutting?
Chill the caramel slightly and use a sharp, lightly oiled knife for easy cutting.
Q5: Can I double this recipe?
Yes, double the ingredients and use a 9×13 pan instead. You may need a slightly larger saucepan for even cooking.
Enjoy These Buttery, Homemade Christmas Caramels!
These Christmas caramels are wonderfully rich, buttery, and perfect for the holiday season. With their soft, chewy texture and hint of vanilla, they’re a delicious and classic holiday treat that’s sure to become a family favorite. Wrap them individually for gifts, or serve them at your holiday table for everyone to enjoy!
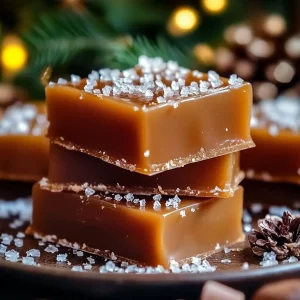
Homemade Christmas Caramels
Ingredients
- 1 cup unsalted butter
- 2 1/4 cups packed brown sugar
- 1 cup light corn syrup
- 1 14 oz can sweetened condensed milk
- 1 teaspoon vanilla extract
- 1/4 teaspoon salt
- Optional: Sea salt for sprinkling on top
Instructions
- Prepare the Pan: Line an 8×8 inch baking pan with parchment paper, leaving a slight overhang on each side for easy removal. Lightly grease the parchment with butter to prevent sticking.
- Melt the Butter: In a large, heavy-bottomed saucepan, melt the butter over medium heat without browning it.
- Combine Ingredients: Add the brown sugar, corn syrup, sweetened condensed milk, and salt to the melted butter. Stir until the ingredients are well combined.
- Bring to a Boil: Increase the heat slightly to bring the mixture to a gentle boil, then reduce to medium-low. Attach a candy thermometer to the pan and cook, stirring frequently, until the caramel reaches 245°F (118°C), the firm ball stage.
- Add Vanilla: Remove the pan from heat and stir in the vanilla extract.
- Pour and Set: Carefully pour the hot caramel mixture into the prepared pan, using a spatula to spread it evenly. Allow it to cool at room temperature for at least 2 hours, or until fully set.
- Cut into Squares: Once set, lift the caramel out of the pan using the parchment paper overhang, then use a sharp knife to cut it into small squares.
- Optional Sea Salt Topping: For a finishing touch, sprinkle the caramels with sea salt just before they set fully. The salt enhances the caramel’s sweet flavor.
Notes
- Reaching the Right Temperature: Reaching 245°F is crucial for the correct texture. If the caramel doesn’t reach this temperature, it may be too soft; if it goes higher, it could become hard and brittle.
- Using a Candy Thermometer: A candy thermometer is essential for accuracy. Make sure the thermometer is well-calibrated and doesn’t touch the bottom of the pan.
- Watch the Caramel Closely: Stir frequently as it cooks to prevent burning and ensure even cooking.

