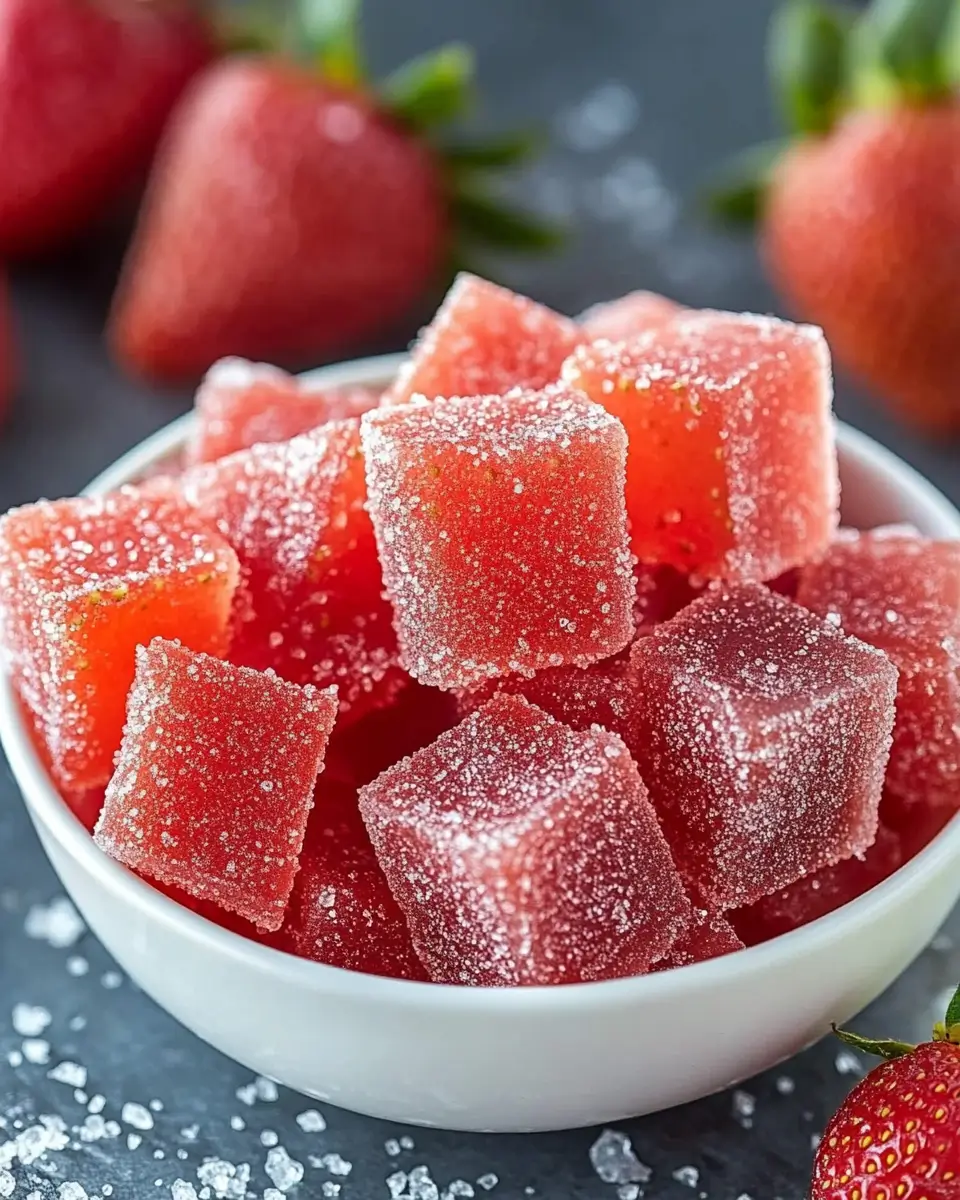
These Sour Strawberry Gummies are a fun and delicious way to enjoy fresh strawberries with a hint of sour lemon. Sweetened naturally with honey, these gummies are perfect for a wholesome treat that’s fun to make and satisfying to eat!
Ingredients:
- 1 ½ cups fresh strawberries, hulled and chopped
- ½ cup water
- 2 tablespoons lemon juice
- 2 tablespoons honey
- 3 tablespoons gelatin powder
- ¼ cup granulated sugar (for coating)
Directions:
Step 1: Blend the Strawberries
In a blender, combine the chopped strawberries, water, and lemon juice. Blend until smooth.
Step 2: Heat the Mixture
Pour the strawberry mixture into a saucepan and heat over medium-low heat. Stir in the honey, mixing well, and continue to heat the mixture until it’s warm but not boiling.
Step 3: Add the Gelatin
Slowly sprinkle the gelatin powder over the warm strawberry mixture, whisking constantly to prevent lumps. Continue stirring until the gelatin is completely dissolved and the mixture is smooth.
Step 4: Mold the Gummies
Pour the mixture into a silicone mold (or use a lined baking dish if you prefer to cut them into squares). Tap the mold gently on the counter to release any air bubbles.
Step 5: Set the Gummies
Refrigerate the mold for at least 2 hours, or until the gummies are fully set and firm.
Step 6: Unmold and Coat
Once the gummies have set, remove them from the mold. If you used a baking dish, cut the gummies into bite-sized pieces. Roll each gummy in granulated sugar to add a light coating and extra sour kick.
Step 7: Store
Store the gummies in an airtight container in the refrigerator for up to 1 week.
Serving and Storage Tips:
- Serving: These gummies are best enjoyed chilled for a refreshing, chewy treat. For a tangier experience, sprinkle additional lemon juice over the sugar coating before serving.
- Storage: Keep the gummies in an airtight container in the refrigerator for up to a week to maintain freshness.
- Freezing: You can freeze the gummies for up to 2 months. Thaw in the refrigerator before enjoying.
Helpful Notes:
- Gelatin Tips: To prevent clumping, sprinkle the gelatin slowly while whisking. If you notice any lumps, continue stirring gently over low heat until the mixture is completely smooth.
- Sugar Coating Alternative: For a healthier option, skip the granulated sugar coating or use a sour sugar substitute like citric acid for an extra tangy flavor.
Tips from Well-Known Chefs:
- Alton Brown: “For gummies with more intense flavor, try reducing the blended fruit mixture slightly before adding the gelatin. This concentrates the fruit’s natural sweetness and tartness.”
- Ina Garten: “Using high-quality, ripe strawberries will enhance the natural sweetness of these gummies. Fresh fruit always makes a big difference!”
Frequently Asked Questions:
- Can I use other fruits?
Absolutely! You can substitute strawberries with other fruits like raspberries, blueberries, or mango. Adjust the honey and lemon juice to taste based on the sweetness of the fruit. - Can I use agar-agar instead of gelatin?
Yes, agar-agar is a good plant-based alternative. Use it in equal amounts, but bring the mixture to a gentle simmer before pouring it into molds to ensure the agar-agar dissolves properly. - Can I skip the sugar coating?
Yes! The sugar coating is optional. For an extra sour coating, try mixing granulated sugar with a small amount of citric acid before rolling. - Do I need silicone molds?
No, you can pour the mixture into a lined baking dish and cut the gummies into squares once they set. - Can I make the gummies vegan?
Yes, substitute the gelatin with agar-agar for a vegan-friendly gummy. Just note that the texture may be slightly firmer.
These Sour Strawberry Gummies are a delicious homemade treat with the perfect balance of sweet and tart flavors. They’re easy to make, naturally flavored, and ideal for a healthier alternative to store-bought gummies


