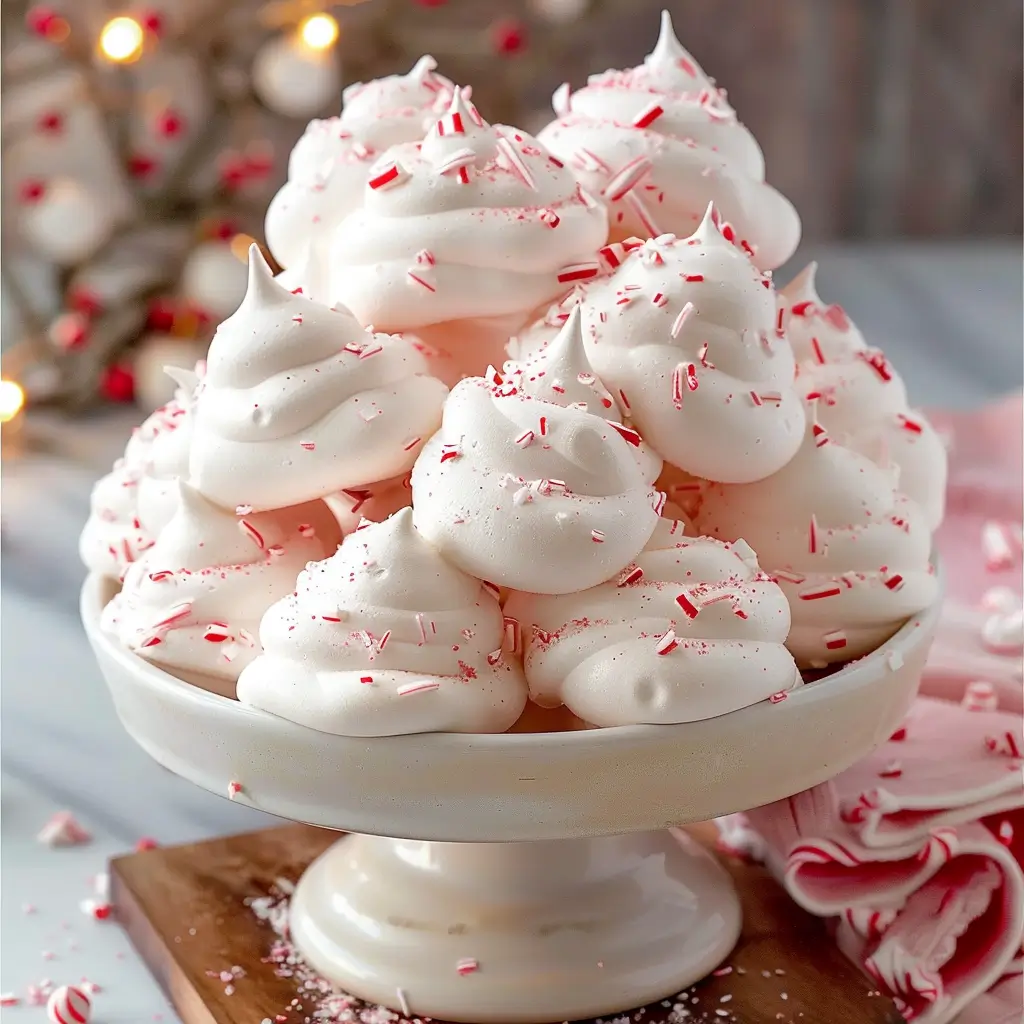
These Peppermint Meringues are the perfect holiday treat—light, airy, and full of refreshing peppermint flavor. With their crisp texture and festive red swirls, they’re a wonderful addition to any holiday dessert spread, and they make a great low-calorie treat or edible gift. These melt-in-your-mouth meringues are also gluten-free, making them a delightful option for everyone to enjoy this holiday season.
Ingredients
- 3 large egg whites (at room temperature)
- 1/4 teaspoon cream of tartar
- 3/4 cup granulated sugar
- 1/4 teaspoon peppermint extract
- Red food coloring gel (optional, for swirls)
Directions
Step 1: Prepare the Oven and Baking Sheets
- Preheat your oven to 200°F (95°C) and line two baking sheets with parchment paper. This low temperature will help the meringues dry out without browning.
Step 2: Whip the Egg Whites
- In a clean, dry bowl of a stand mixer fitted with the whisk attachment, beat the egg whites on medium speed until they become frothy.
- Add the cream of tartar and continue beating until soft peaks form. Soft peaks will hold their shape, but will droop slightly when you lift the whisk.
Step 3: Add the Sugar
- Gradually add the granulated sugar, one tablespoon at a time, while continuing to beat the mixture.
- Once all the sugar has been added, increase the speed to high and beat until stiff, glossy peaks form. You’ll know you’ve reached stiff peaks when the meringue holds its shape firmly and doesn’t collapse when the whisk is lifted.
- Gently fold in the peppermint extract until fully incorporated.
Step 4: Add Food Coloring (Optional)
- If you’d like to add a festive swirl effect, drop a few small dots of red food coloring gel onto the meringue mixture.
- Use a spatula to swirl the coloring through the mixture with a few gentle folds, being careful not to overmix, which could deflate the meringue.
Step 5: Pipe the Meringues
- Transfer the meringue mixture to a piping bag fitted with a star tip. You can also use a plastic sandwich bag and snip off one corner for a simpler option.
- Pipe small meringue kisses onto the prepared baking sheets, spacing them about 1 inch apart.
Step 6: Bake the Meringues
- Bake the meringues for 1 1/2 to 2 hours, or until they are dry to the touch and easily release from the parchment.
- Turn off the oven and leave the meringues inside to cool completely for an additional hour. This ensures they dry out thoroughly and maintain their light, crispy texture.
Serving and Storage Tips
- Serving: Peppermint meringues make a perfect addition to dessert trays, hot cocoa, or as a light after-dinner treat. Pair them with coffee or tea for a refreshing treat.
- Storage: Store the meringues in an airtight container at room temperature for up to two weeks. To keep them crispy, avoid storing them in humid environments.
Helpful Notes
- Egg Whites: Ensure your mixing bowl and whisk are clean and dry. Any trace of fat or oil can prevent the egg whites from whipping properly.
- No Overmixing: Avoid overmixing once you’ve reached stiff peaks. Overmixing can cause the meringue to collapse, resulting in flat meringues.
- Piping Tips: If you don’t have a piping bag, you can spoon the meringue mixture into dollops on the baking sheet for a more rustic look.
Tips from Well-Known Chefs
- Mary Berry: “Adding the sugar gradually to the egg whites helps the meringue maintain its structure, giving you the perfect glossy peaks.”
- Paul Hollywood: “For best results, use superfine sugar. It dissolves faster in the egg whites, resulting in smoother meringues.”
- Ina Garten: “Be patient with the baking time and cooling. This is what gives meringues their light and airy texture.”
Frequently Asked Questions
1. Can I use regular sugar instead of granulated?
Yes, superfine sugar works even better than regular granulated sugar, as it dissolves more easily into the meringue.
2. What if I don’t have cream of tartar?
You can substitute cream of tartar with an equal amount of white vinegar or lemon juice to stabilize the egg whites.
3. Can I add more peppermint extract for a stronger flavor?
Yes, but be careful not to add too much liquid, as it can affect the texture of the meringue.
4. Can I make these meringues without a stand mixer?
Yes, a hand mixer works as well, though it may take a bit longer to achieve stiff peaks.
5. Why did my meringues turn out chewy?
This usually happens if there’s too much humidity or if they haven’t dried fully. Letting them cool in the oven helps prevent this.
6. Can I use liquid food coloring instead of gel?
It’s best to use gel food coloring, as liquid can make the meringue too runny.
7. What can I do with leftover egg yolks?
Leftover egg yolks are great for custards, curds, or rich scrambled eggs.
8. Can I make these in advance?
Yes! Meringues store well for up to two weeks, so you can make them ahead for the holidays.
9. Why are my meringues cracking?
Cracking can occur if the meringues cool too quickly. Leaving them in the oven to cool gradually can prevent this.
10. Can I add other flavors?
Yes! Vanilla, almond, or lemon extracts can be used for different flavor profiles.
These festive Peppermint Meringues are sure to add a touch of holiday magic to your celebrations. Enjoy their delightful crunch and refreshing peppermint taste!