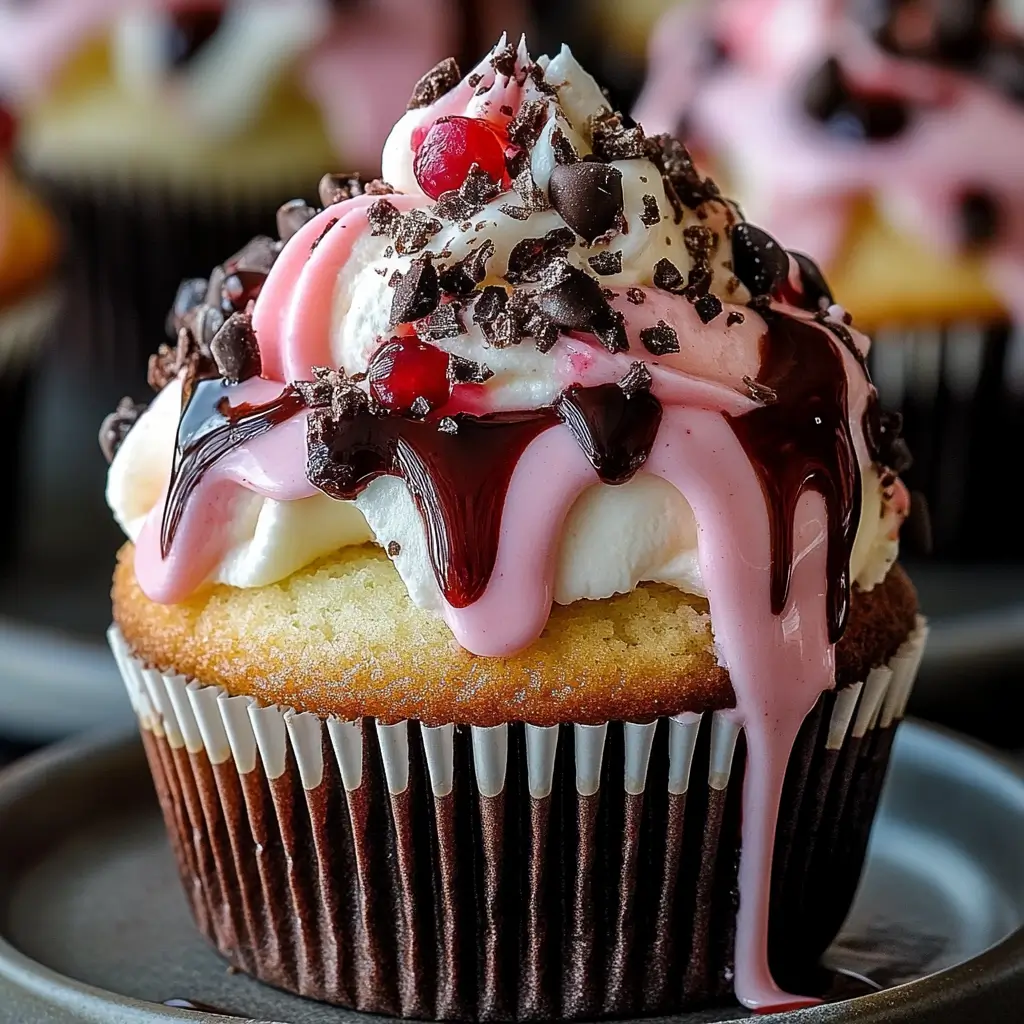
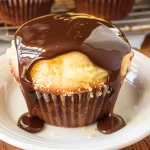
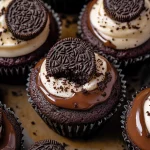
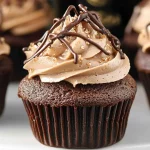
There’s something magical about the combination of chocolate, strawberry, and vanilla – it’s a flavor trio that’s loved by all. If you’ve ever dreamed of enjoying these classic flavors together in one decadent dessert, then look no further than these Heavenly Neapolitan Cream Cupcakes. These cupcakes are the perfect balance of light and fluffy cake with creamy fillings and a beautiful swirl of frosting. Every bite is like a celebration of the most delicious flavors of the classic Neapolitan ice cream, but in cupcake form!
Why You Will Love Neapolitan Cream Cupcakes
Heavenly Neapolitan Cream Cupcakes are the ultimate dessert to impress your guests, or just treat yourself to something special. The cupcakes feature three distinct layers, each bursting with its own flavor. You get the richness of chocolate, the sweetness of strawberry, and the creamy vanilla all in one bite. Not only are these cupcakes delicious, but they’re also a feast for the eyes. Topped with whipped cream, drizzled with chocolate, and finished off with chocolate shavings, they’re a visually stunning treat that will have everyone reaching for seconds.
Ingredients
For the Cupcake Batter:
- 1 cup all-purpose flour
- 1 cup granulated sugar
- ½ cup unsalted butter, softened
- 2 large eggs
- ½ cup milk
- 1 tsp vanilla extract
- ½ cup cocoa powder
- ½ tsp baking powder
- ½ tsp baking soda
- ¼ tsp salt
For the Fillings and Frosting:
- ½ cup strawberry jam
- ½ cup vanilla frosting
- ½ cup chocolate frosting
- ½ cup whipped cream
- Chocolate shavings for garnish
Kitchen Equipment Needed
- Cupcake tin
- Cupcake liners
- Electric mixer or hand mixer
- Mixing bowls
- Measuring cups and spoons
- Toothpicks for testing doneness
- Spoon or piping bag for filling and frosting cupcakes
- Small knife or spoon for cutting a hole in the cupcakes
How To Make Neapolitan Cream Cupcakes
Step 1: Prep the Batter
Preheat your oven to 350°F (175°C) and line a 12-cup muffin tin with cupcake liners. This will ensure that your cupcakes don’t stick and bake evenly.
In a large mixing bowl, cream together the softened butter and granulated sugar using an electric mixer until the mixture is light and fluffy. This should take about 3-4 minutes.
Next, add the eggs, one at a time, beating well after each addition. Then, stir in the vanilla extract.
Step 2: Mix the Dry Ingredients
In a separate bowl, whisk together the flour, baking powder, baking soda, and salt. Gradually add this dry mixture to the butter mixture, alternating with the milk. Start and finish with the dry ingredients. Mix just until combined to avoid overworking the batter, which can lead to dense cupcakes.
Step 3: Divide the Batter
Once the batter is ready, divide it into three equal portions.
- Portion 1: Stir in the cocoa powder to create the chocolate batter.
- Portion 2: Stir in the strawberry jam to create the strawberry batter.
- Portion 3: Leave the third portion of batter plain to represent the vanilla flavor.
Step 4: Assemble and Bake
Now for the fun part – assembling the cupcakes! For each cupcake liner, layer the batters to create a beautiful swirl of chocolate, strawberry, and vanilla:
- Start by adding a spoonful of chocolate batter.
- Follow with a spoonful of strawberry batter.
- Finish with a spoonful of vanilla batter.
Use a toothpick or skewer to gently swirl the batters together, creating a marbled effect.
Place the tray in the oven and bake for 20-25 minutes, or until a toothpick inserted into the center of a cupcake comes out clean.
Step 5: Cool Completely
Once the cupcakes are done baking, remove them from the oven and allow them to cool in the tin for 5 minutes. Then, transfer them to a wire rack to cool completely. This step is crucial before filling or frosting the cupcakes.
Step 6: Fill and Frost
Once the cupcakes have cooled completely, it’s time to add the fillings and frosting:
- Use a small knife or cupcake corer to cut a hole in the center of each cupcake.
- Fill the hole with whipped cream for a luscious, creamy center.
- Next, frost the top half of the cupcakes with vanilla frosting and the other half with chocolate frosting. You can use a spoon or a piping bag to get smooth, even layers of frosting.
- Drizzle with melted chocolate over the top of the cupcakes and garnish with chocolate shavings for an extra touch of elegance.
Step 7: Serve and Enjoy
Serve these delightful cupcakes at your next gathering, party, or simply enjoy them with a cup of tea or coffee. They’re sure to be a hit! You can refrigerate them for a bit if you want to serve them chilled for a refreshing treat.
Serving and Storage Tips
- Serving: These cupcakes are perfect for parties, holidays, or any occasion where you want to wow your guests. Serve them with a side of fresh fruit or a scoop of ice cream for an extra indulgence.
- Storage: Store any leftover cupcakes in an airtight container at room temperature for up to 3 days, or in the fridge for up to 5 days. The whipped cream filling can get a bit soft over time, so be sure to enjoy them soon after making. You can also freeze the cupcakes (without frosting) for up to 2 months, then frost and fill them when ready to serve.
Variations
- Fruit Filling: Instead of strawberry jam, you can use raspberry or blueberry jam for a different fruity twist.
- Buttercream Frosting: If you prefer a smoother texture for the frosting, use buttercream frosting instead of the simple vanilla and chocolate frosting. You can even tint the buttercream for added color.
- Additional Garnishes: For an extra touch, consider topping the cupcakes with fresh strawberry slices or a sprinkle of rainbow sprinkles.
Helpful Notes
- Swirling the Batters: To get the best marbled effect, don’t overmix the batters. Gently swirl them just once or twice to create that pretty blend of colors.
- Cupcake Liner Tip: If you want to avoid sticky cupcake liners, make sure to grease them lightly before adding the batter.
- Melted Chocolate Drizzle: To melt chocolate for drizzling, use a double boiler or microwave in 20-second intervals, stirring between each, until smooth.
Tips from Well-Known Chefs
- Martha Stewart advises using room temperature ingredients for the batter. This ensures that everything combines smoothly, resulting in a light and airy texture.
- Ina Garten recommends chilling the whipped cream before filling the cupcakes to prevent it from becoming too soft when piped into the center.
Frequently Asked Questions
- Can I make these cupcakes ahead of time?
Yes, you can prepare the cupcakes a day in advance. Keep them in an airtight container, and frost them just before serving to keep the frosting fresh. - Can I use other frosting flavors?
Absolutely! Feel free to get creative with different frosting flavors like strawberry buttercream or chocolate ganache. - Why are my cupcakes sinking in the middle?
If your cupcakes sink in the middle, they may have been overmixed or underbaked. Be sure to test for doneness with a toothpick and avoid overmixing the batter. - Can I use a different type of jam?
Yes, you can substitute the strawberry jam with any fruit jam or preserve of your choice, such as raspberry, blueberry, or apricot. - How can I make the whipped cream filling stiffer?
If you want a stiffer whipped cream filling, try adding a small amount of powdered sugar or using heavy cream instead of whipped cream.
Final Thoughts
Heavenly Neapolitan Cream Cupcakes are the perfect combination of flavors and textures: fluffy cake, creamy whipped cream, and rich frosting all come together in a stunning treat. Whether you’re baking for a special occasion or just indulging in a sweet moment, these cupcakes are sure to bring a smile to everyone’s face. Enjoy the ultimate Neapolitan experience in a cupcake!


