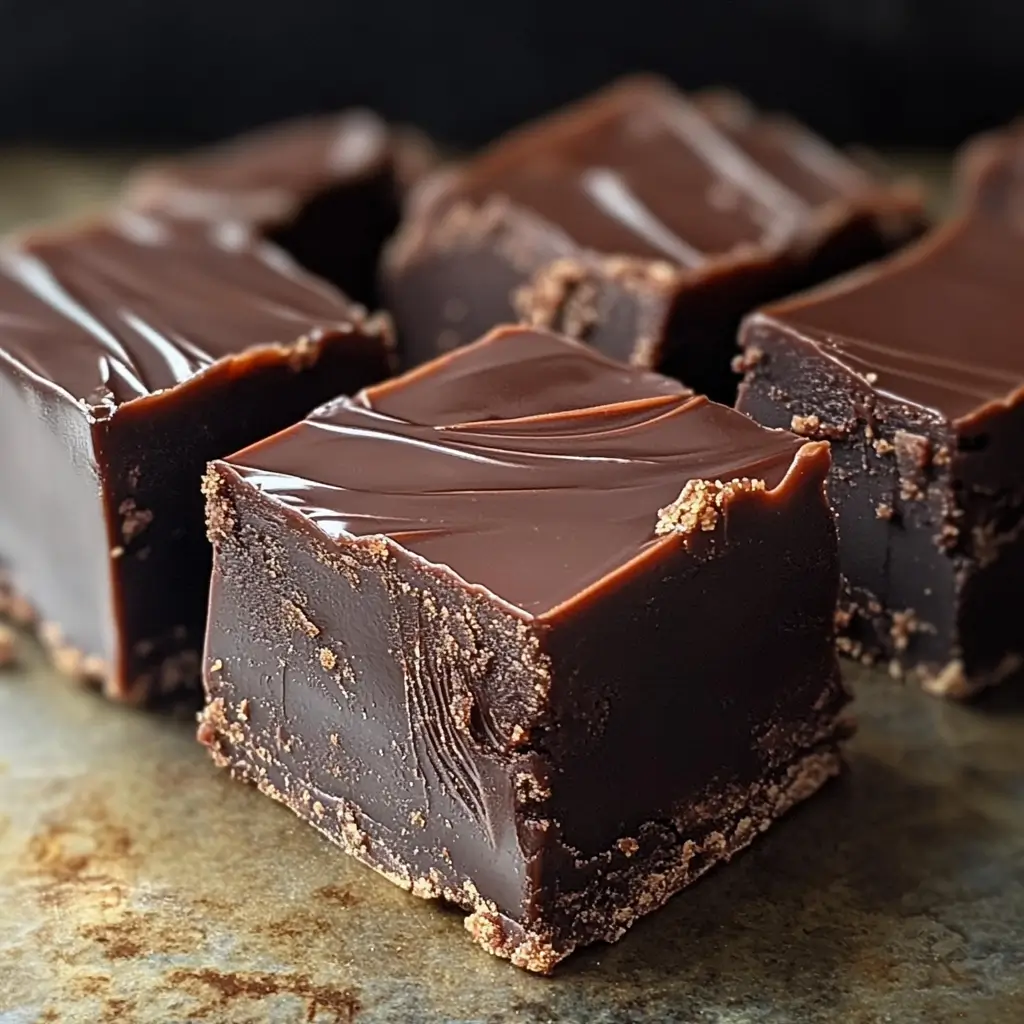
There’s something nostalgic about Old-Fashioned Chocolate Fudge. With its creamy texture, slight crumb, and rich cocoa flavor, this homemade treat is a timeless favorite. Made with simple ingredients and a touch of patience, it’s perfect for holidays, gifting, or satisfying your sweet tooth any day of the week.
Why You’ll Love This Recipe
- Classic Flavor: Rich cocoa and buttery vanilla make this a traditional delight.
- Perfect Texture: Creamy with just the right amount of crumbly melt-in-your-mouth goodness.
- Easy to Store: Keeps well at room temperature, in the fridge, or frozen for later.
- Versatile: Add nuts, swirl in caramel, or top with sea salt for a twist.
Ingredients
- 3 cups granulated sugar
- 2/3 cup cocoa (unsweetened Dutch processed)
- 1/8 teaspoon salt (or 1/4 teaspoon if using unsalted butter)
- 1½ cups whole milk
- 1/4 cup butter (salted, room temperature)
- 1 teaspoon vanilla extract
Step-by-Step Directions
Step 1: Prepare the Pan
Line an 8-inch square pan with buttered parchment paper, ensuring the edges hang over for easy removal.
Step 2: Mix the Base Ingredients
In a medium, heavy-bottomed saucepan, stir together the sugar, cocoa, and salt. Add the milk and stir with a wooden spoon until the mixture is combined. Avoid using a whisk or metal spoon to prevent aerating the fudge.
Step 3: Cook the Mixture
- Place the saucepan over medium heat and stir continuously until the mixture comes to a strong boil. This should take about 15 minutes.
- Once boiling, reduce the heat to low-medium and stop stirring. Cook without disturbing the mixture until it reaches 234°F (112°C) on a candy thermometer. This step takes approximately 30 minutes.
Step 4: Add Butter and Vanilla
Remove the saucepan from the heat. Add the butter and vanilla extract but do not stir. Let the mixture cool to 110°F (43°C), about 30 minutes.
Step 5: Beat the Fudge
Once cooled, beat the mixture with a wooden spoon until it begins to lose its gloss and thicken slightly, about 6–8 minutes.
Step 6: Spread and Set
Quickly spread the fudge into the prepared pan, smoothing it into an even layer. Allow it to cool completely at room temperature, ideally overnight, until firm.
Step 7: Cut and Store
Lift the fudge out of the pan using the parchment paper and cut it into small squares.
Kitchen Equipment Needed
- Heavy-bottomed saucepan
- Candy thermometer
- Wooden spoon
- 8-inch square pan
- Parchment paper
Serving and Storage Tips
Serving Suggestions
- Serve as part of a dessert platter alongside cookies and brownies.
- Enjoy with a cup of coffee or a glass of milk for a comforting treat.
Storage
- Room Temperature: Store in an airtight container for up to 2 weeks.
- Refrigerator: Keeps for 3–4 weeks.
- Freezer: Wrap tightly in plastic wrap and store in a freezer-safe bag for up to 3 months. Thaw at room temperature before serving.
Variations
- Nutty Delight: Add ½ cup of chopped pecans or walnuts after beating the fudge.
- Salted Caramel: Swirl in caramel sauce before spreading in the pan and sprinkle with sea salt.
- Marshmallow Twist: Fold in mini marshmallows before setting for a Rocky Road version.
- Espresso Kick: Stir in 1 teaspoon of espresso powder for a mocha-flavored fudge.
Helpful Notes
- A candy thermometer is essential to ensure the fudge reaches the right temperature for setting.
- Do not stir the mixture after adding the butter and vanilla until it cools to 110°F, as this can affect the texture.
- Work quickly when spreading the fudge into the pan, as it sets rapidly once it starts to cool.
Tips from Well-Known Chefs
- Chef Ina Garten: “Always use high-quality vanilla extract for the best flavor in classic desserts.”
- Chef Alton Brown: “Let the fudge cool naturally at room temperature for the creamiest texture.”
- Chef Mary Berry: “Line your pan carefully to avoid sticking and ensure neat edges when cutting.”
Frequently Asked Questions
1. Can I make fudge without a candy thermometer?
Yes, you can test the mixture by dropping a small amount into cold water. It should form a soft ball that flattens when removed.
2. What if my fudge doesn’t set?
This usually happens if the mixture didn’t reach 234°F. You can reheat the mixture, bring it to the right temperature, and try again.
3. Can I double the recipe?
Yes, but use a larger pan and ensure the mixture cooks evenly by stirring occasionally during the initial boil.
4. How do I cut the fudge neatly?
Use a sharp knife warmed under hot water and wiped dry between cuts for clean edges.
5. Can I use a different type of milk?
Whole milk is best for the rich texture, but you can use 2% milk. Avoid skim or non-dairy milk for this recipe.
This Old-Fashioned Chocolate Fudge is a nostalgic treat that’s perfect for gifting, sharing, or indulging yourself. With its rich flavor and creamy texture, it’s bound to become a cherished family favorite. Give it a try today!


