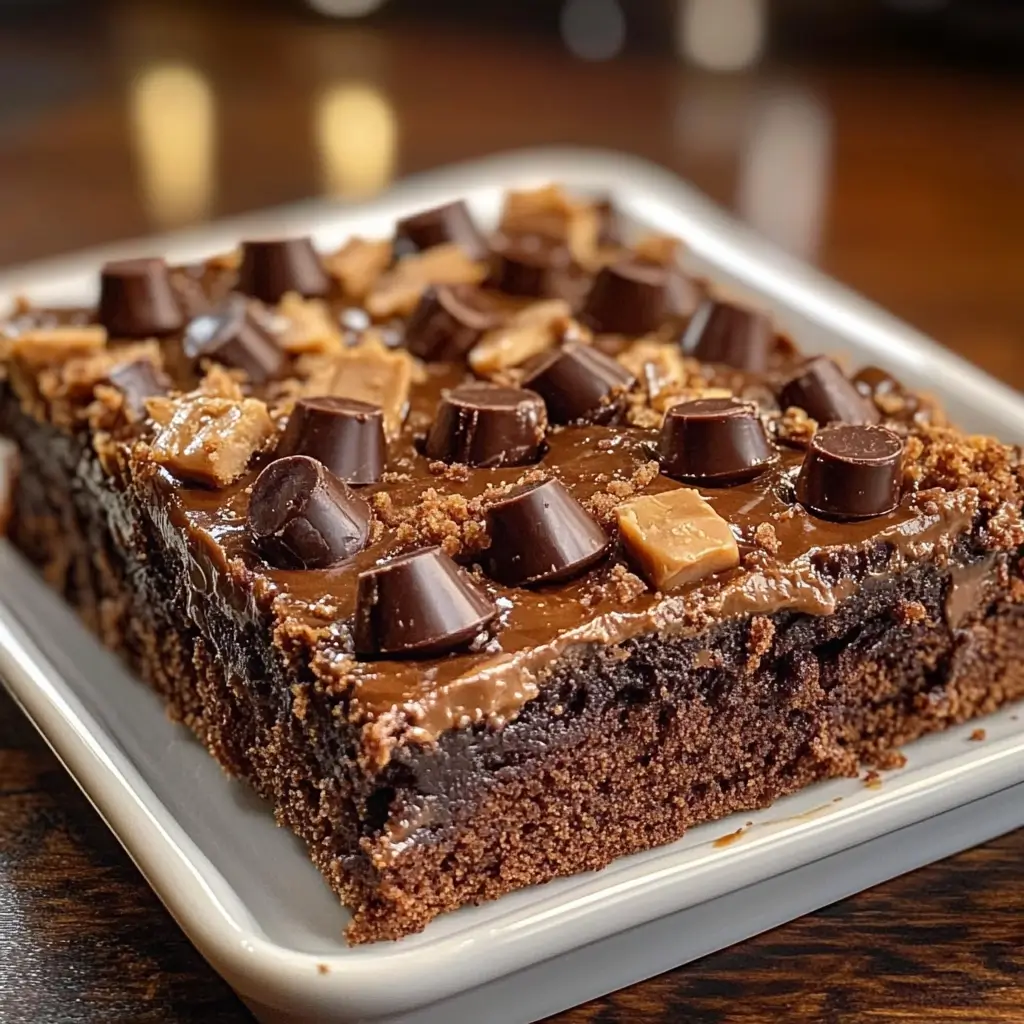
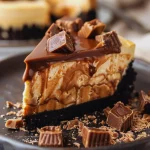
This Peanut Butter Cup Dump Cake is a rich, gooey dessert that combines chocolate, peanut butter chips, and mini peanut butter cups for an easy, indulgent treat. With just a few ingredients and no mixing bowls required, it’s perfect for satisfying your chocolate-peanut butter cravings!
Why You’ll Love This Recipe
- Minimal Prep: Simply layer and bake—no need for mixers or multiple bowls.
- Decadent and Gooey: The combination of chocolate, peanut butter, and sweetened condensed milk creates a deliciously gooey texture.
- Perfect for Chocolate Lovers: Rich, chocolatey, and loaded with peanut butter, it’s an irresistible dessert.
- Great for Sharing: Ideal for potlucks, family gatherings, or any occasion where you need a crowd-pleasing dessert.
Ingredients
- 1 box chocolate cake mix
- 1¼ cups milk
- ½ cup melted butter
- 1 cup peanut butter chips
- 1 cup chocolate chips
- 1 cup mini peanut butter cups, halved
- 1 can (14 oz) sweetened condensed milk
- Whipped cream or vanilla ice cream, for serving (optional)
Step-by-Step Instructions
Step 1: Preheat the Oven
- Preheat your oven to 350°F (175°C).
- Grease a 9×13-inch baking dish to prevent the cake from sticking.
Step 2: Layer the Ingredients
- Spread the chocolate cake mix evenly over the bottom of the prepared baking dish.
- Pour the milk and melted butter over the cake mix, spreading gently to moisten the cake mix without stirring.
- Sprinkle the peanut butter chips, chocolate chips, and halved mini peanut butter cups evenly over the top.
Step 3: Add Sweetened Condensed Milk
- Drizzle the sweetened condensed milk evenly over the layered ingredients, making sure it covers everything.
Step 4: Bake the Cake
- Place the baking dish in the preheated oven and bake for 30-35 minutes, or until the edges are bubbly and the center is set.
Step 5: Serve
- Allow the cake to cool slightly before serving.
- For an extra indulgent treat, top each serving with whipped cream or a scoop of vanilla ice cream.
Kitchen Equipment Needed
- 9×13-inch baking dish
- Measuring cups and spoons
- Spatula for spreading
Serving and Storage Tips
Serving Suggestions: This cake is best served warm, topped with whipped cream or a scoop of vanilla ice cream for extra decadence.
Storage: Store any leftovers in an airtight container in the refrigerator for up to 3 days.
Reheating: Reheat individual servings in the microwave for 15-20 seconds to enjoy the gooey texture.
Recipe Variations
- Caramel Drizzle: Add a drizzle of caramel sauce over the sweetened condensed milk for an extra layer of flavor.
- Nutty Crunch: Add a sprinkle of crushed peanuts or chopped pecans for added texture.
- Salted Peanut Butter: Use salted peanut butter chips to enhance the sweet and salty flavor profile.
- Add Marshmallows: Scatter mini marshmallows over the top before baking for a s’mores-inspired twist.
Helpful Notes
- Don’t Stir the Layers: For a true dump cake, layer without mixing to keep the texture light and gooey.
- Check for Doneness: The edges should be bubbly, and the center should appear set when the cake is done. If it seems too gooey, bake for an additional 5 minutes.
- Choose a Deep Baking Dish: A 9×13-inch dish with higher sides will prevent any overflow.
Tips from Well-Known Chefs
Ree Drummond’s Dump Cake Tip: Layering ingredients carefully without stirring keeps the layers distinct, resulting in the perfect texture.
Martha Stewart’s Baking Advice: Use quality chocolate and peanut butter chips for the best flavor, as they’re the stars of this dessert.
Frequently Asked Questions
Can I make this cake in advance?
Yes, you can prepare it a day ahead, store it in the fridge, and reheat individual servings as needed.
Can I use a different type of cake mix?
Yes, yellow or peanut butter-flavored cake mix works well for a different twist.
Can I make this without peanut butter chips?
Absolutely! Use only chocolate chips or try butterscotch or caramel chips for a unique flavor.
How do I keep the cake from sticking?
Grease your baking dish well, and consider using a nonstick pan for easy removal.
Can I use regular-sized peanut butter cups?
Yes, chop them into smaller pieces so they melt evenly throughout the cake.
This Peanut Butter Cup Dump Cake is the ultimate dessert for chocolate and peanut butter lovers, with gooey layers and an irresistible flavor. Enjoy each bite of this indulgent treat!
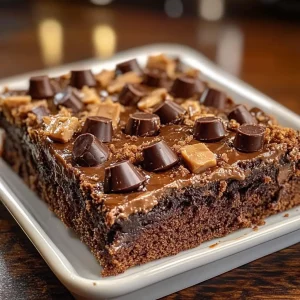
Peanut Butter Cup Dump Cake Recipe
Ingredients
- 1 box chocolate cake mix
- 1 1/4 cups milk
- 1/2 cup melted butter
- 1 cup peanut butter chips
- 1 cup chocolate chips
- 1 cup mini peanut butter cups halved
- 1 can 14 oz sweetened condensed milk
- Whipped cream or vanilla ice cream for serving (optional)
Instructions
- Preheat Oven: Preheat your oven to 350°F (175°C). Grease a 9×13-inch baking dish to prevent sticking.
Layer Ingredients:
- Spread the chocolate cake mix evenly over the base of the prepared baking dish.
- Pour milk and melted butter over the cake mix, spreading it gently to ensure the entire mix is moistened.
- Sprinkle the peanut butter chips, chocolate chips, and halved mini peanut butter cups evenly over the top.
Add Sweetened Condensed Milk:
- Drizzle the sweetened condensed milk evenly across the top, ensuring that it covers all the layered ingredients.
Bake the Cake:
- Place the dish in the preheated oven and bake for 30-35 minutes or until the edges are bubbly and the center appears set.
Serve:
- Allow the cake to cool slightly before serving. For an extra indulgent treat, top with whipped cream or a scoop of vanilla ice cream.
Notes
- Don’t Stir the Layers: For a true dump cake, layer without mixing to keep the texture light and gooey.
- Check for Doneness: The edges should be bubbly, and the center should appear set when the cake is done. If it seems too gooey, bake for an additional 5 minutes.
- Choose a Deep Baking Dish: A 9×13-inch dish with higher sides will prevent any overflow.

