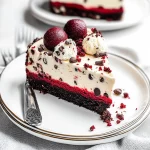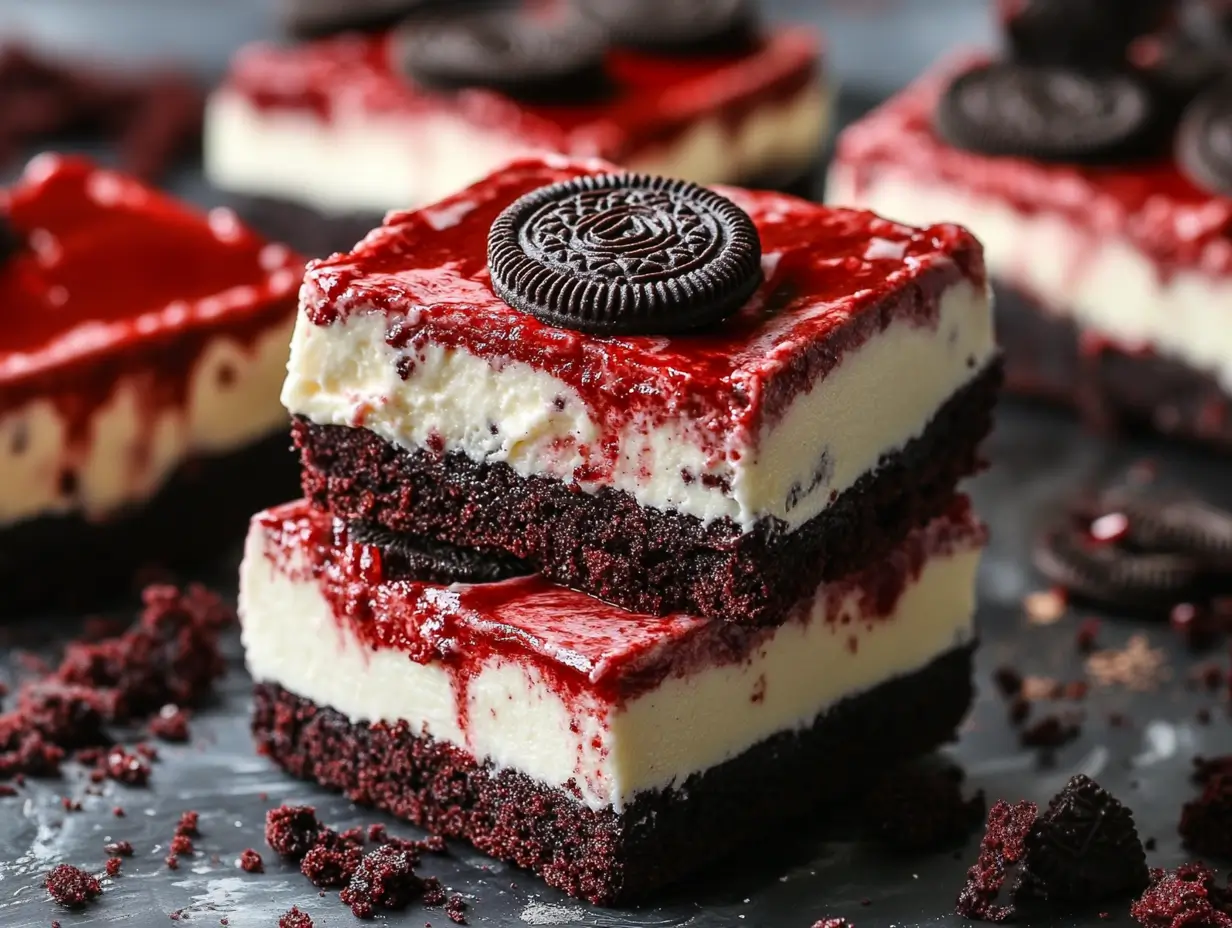
If you love red velvet and Oreo cookies, these Red Velvet Oreo Cheesecake Bars are a match made in dessert heaven. With a crunchy chocolate cookie crust, a layer of whole Oreos, and a creamy red velvet cheesecake filling, these bars are rich, decadent, and perfect for any occasion. Whether you’re baking for a party or just treating yourself, these cheesecake bars are sure to be a hit!
Ingredients:
For the Base:
- 2 cups crushed chocolate cookie crumbs
- ½ cup unsalted butter, melted
For the Cheesecake Filling:
- 16 oz cream cheese, at room temperature
- ¾ cup granulated sugar
- 2 large eggs
- ½ cup sour cream
- 1 teaspoon vanilla extract
- 1 tablespoon red food coloring
For the Oreo Layer:
- 1 package of whole chocolate sandwich cookies (about 15 cookies)
For the Topping:
- Whipped cream (for garnish)
- Crushed chocolate sandwich cookies (for garnish)
Directions:
Step 1: Prepare the Base
- Preheat your oven to 325°F (160°C) and line an 8×8-inch baking pan with parchment paper, leaving an overhang on the sides for easy removal.
- In a medium bowl, mix the crushed chocolate cookie crumbs with the melted butter until the crumbs are evenly coated and resemble wet sand.
- Press the mixture firmly into the bottom of the prepared baking pan, creating an even layer.
Step 2: Add the Oreo Layer
- Arrange the whole chocolate sandwich cookies in a single layer on top of the cookie crust. Ensure the cookies cover the entire base; break any cookies to fill gaps if needed.
Step 3: Make the Cheesecake Filling
- In a large mixing bowl, beat the cream cheese and granulated sugar together until smooth and creamy.
- Add the eggs one at a time, mixing well after each addition to incorporate fully.
- Stir in the sour cream, vanilla extract, and red food coloring. Mix until the color is evenly distributed and the filling is smooth.
Step 4: Pour and Bake
- Pour the red velvet cheesecake mixture over the layer of cookies in the pan. Use a spatula to spread it evenly.
- Bake for 30-35 minutes, or until the cheesecake is set and only slightly jiggly in the center.
Step 5: Chill
- Remove the pan from the oven and allow it to cool completely at room temperature.
- Once cooled, refrigerate the cheesecake for at least 4 hours or, for best results, overnight to allow it to firm up.
Step 6: Serve
- Once chilled, use the parchment paper overhang to lift the cheesecake from the pan. Place on a cutting board and slice into bars.
- Garnish each bar with a dollop of whipped cream and sprinkle with crushed chocolate sandwich cookies before serving.
Serving and Storage Tips
- Serving Suggestions: Serve these bars chilled for the best texture. They’re perfect as-is, or you can add a drizzle of chocolate sauce for an extra touch of indulgence.
- Storage: Store leftover bars in an airtight container in the refrigerator for up to 5 days. These bars also freeze well—wrap each bar individually in plastic wrap and store in a freezer-safe bag for up to 2 months.
Helpful Notes
- Room Temperature Ingredients: Ensure the cream cheese and eggs are at room temperature for a smoother cheesecake filling. Cold ingredients can result in a lumpy mixture.
- Adding Almond Extract: For a unique twist, try adding ¼ teaspoon of almond extract to the cheesecake filling. It pairs well with the red velvet flavor.
- Red Food Coloring: Gel food coloring works best for achieving a vibrant red color without altering the texture of the cheesecake mixture.
Tips from Well-Known Chefs
- Ina Garten: Always line your baking pan with parchment paper for easy removal. It also helps prevent the cheesecake from sticking to the pan.
- Mary Berry: When mixing cheesecake, avoid over-beating the eggs, as this can cause air bubbles and lead to cracks on the surface.
- Buddy Valastro: For an even bake, place the cheesecake bars on the middle rack of the oven and use an oven thermometer to ensure the temperature is accurate.
Frequently Asked Questions
1. Can I use a pre-made crust?
Yes, you can use a store-bought chocolate cookie crust to save time. Just press it into the bottom of your pan and continue with the recipe.
2. Can I make these bars without red food coloring?
Absolutely! The bars won’t have the traditional red velvet color, but they’ll still taste delicious.
3. What type of chocolate cookies should I use for the base?
You can use any chocolate sandwich cookies (like Oreos) or plain chocolate wafers. Just make sure to crush them finely.
4. Can I use reduced-fat cream cheese?
Yes, but the texture will be slightly less rich and creamy. Full-fat cream cheese is recommended for the best results.
5. Can I add more Oreos to the filling?
Yes, you can chop extra Oreos and fold them into the cheesecake mixture before baking for even more cookie flavor.
6. How do I know when the cheesecake is done baking?
The cheesecake is done when the center is set but slightly jiggly. It will firm up more as it cools.
7. Can I freeze these cheesecake bars?
Yes, cheesecake bars freeze well. Wrap each bar individually in plastic wrap, then store them in a freezer-safe bag. Thaw in the refrigerator before serving.
8. How can I prevent cracks on the surface?
Avoid over-mixing the eggs and baking at a low temperature. Letting the cheesecake cool slowly also helps prevent cracks.
9. Can I make this recipe gluten-free?
Yes! Use gluten-free chocolate sandwich cookies and a gluten-free flour blend to make the base.
10. What can I use instead of sour cream?
Greek yogurt is a great substitute for sour cream and provides a similar texture and flavor.
These Red Velvet Oreo Cheesecake Bars are sure to be a crowd-pleaser with their luscious cheesecake layer and delightful Oreo crunch. Enjoy baking and indulging in this delicious treat!