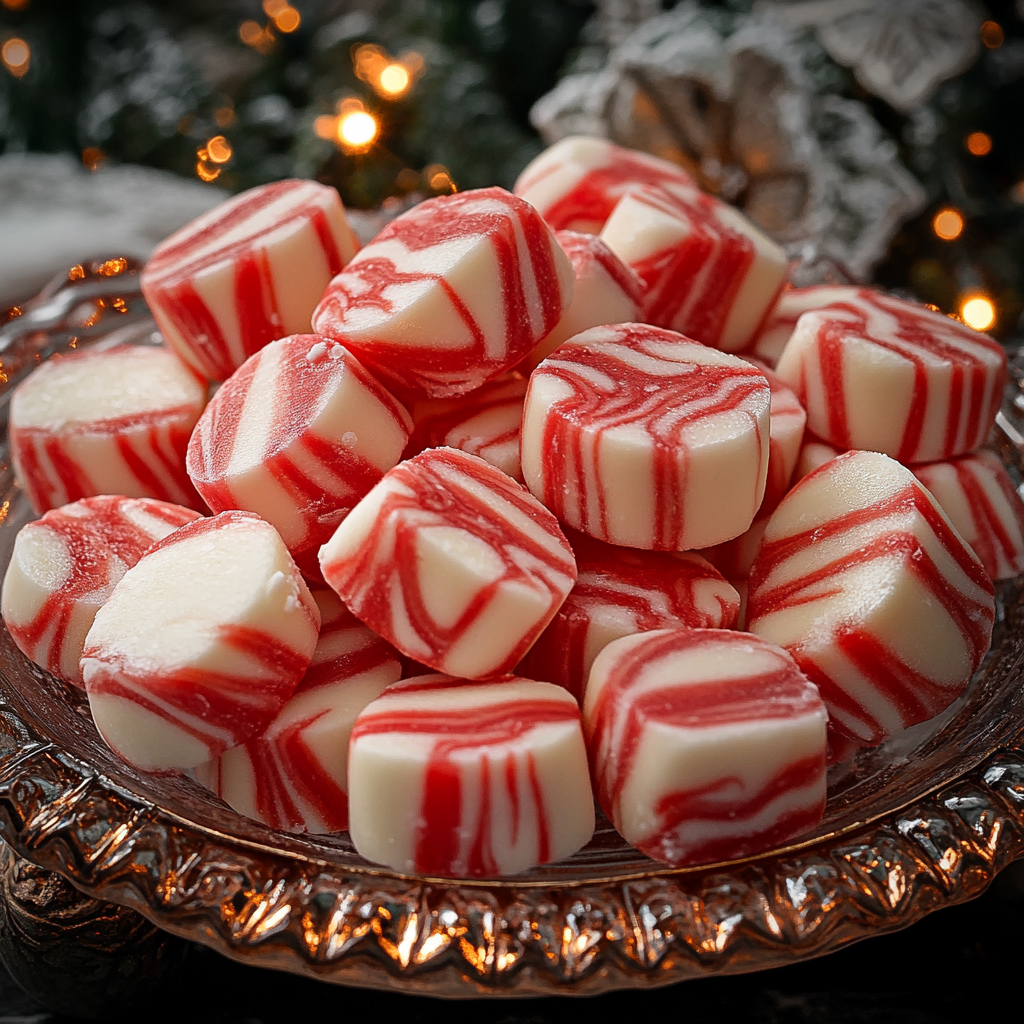
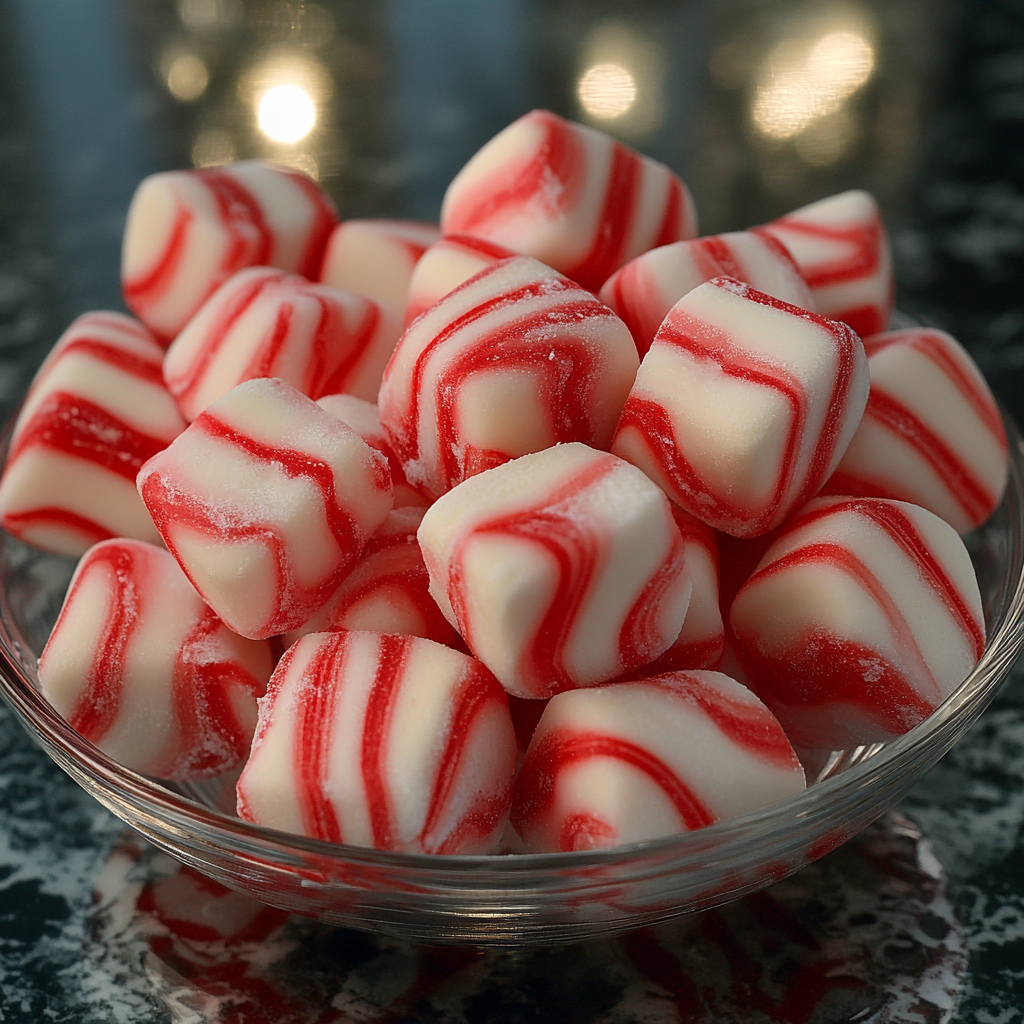
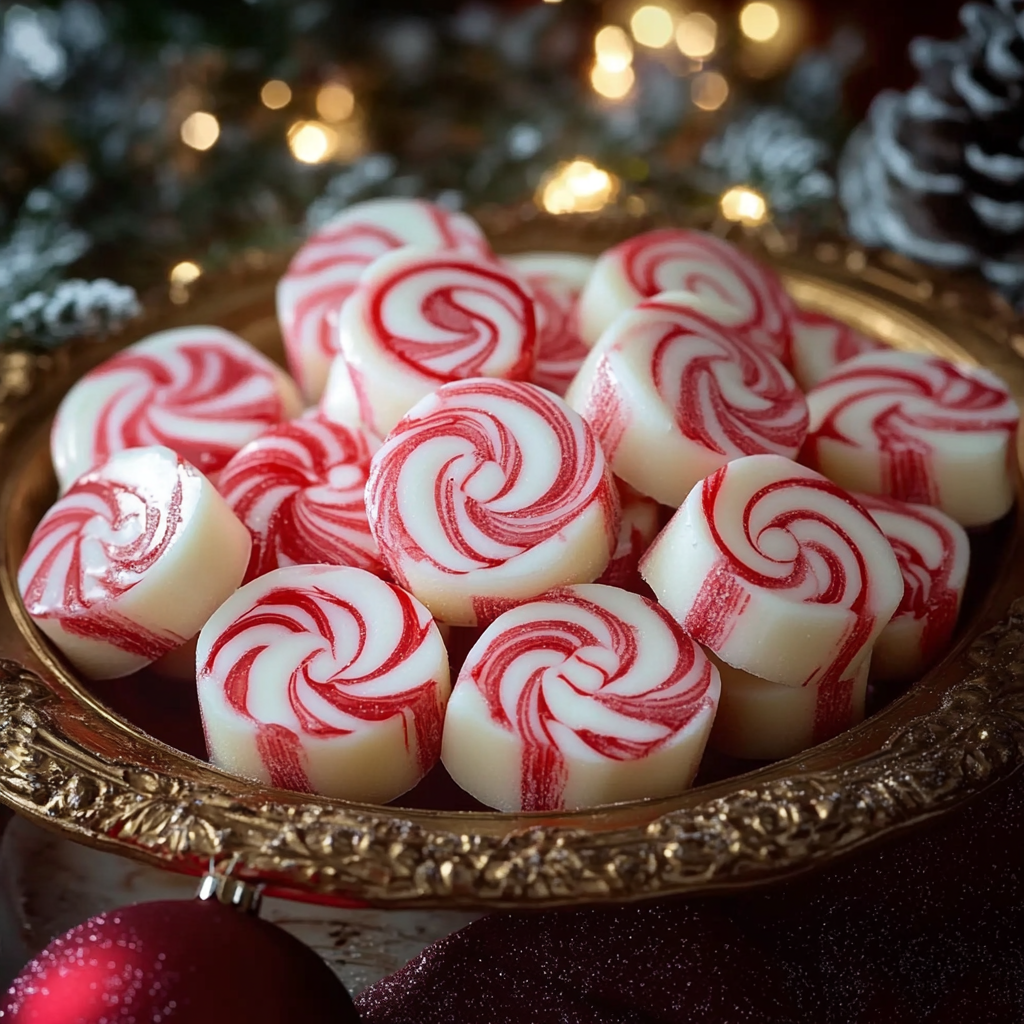
These Soft Christmas Peppermints, also known as Old-Fashioned Butter Mints, are a delightful holiday treat. Made with simple ingredients and featuring a melt-in-your-mouth texture, they’re perfect for Christmas gatherings, as edible gifts, or for adding a festive touch to dessert platters. With a light peppermint flavor and creamy, buttery base, these candies are a nostalgic favorite and easy to make at home.
Why You’ll Love Soft Christmas Peppermints
- Melt-in-Your-Mouth Texture: Soft, creamy, and buttery, they dissolve deliciously with each bite.
- Perfect for Gifting: Wrapped up in festive packaging, they make wonderful holiday gifts.
- Easy and Fun to Make: With simple ingredients and an easy twist technique, these are a joy to prepare.
- Festive Presentation: The classic red and white twist makes them a beautiful addition to any Christmas display.
Ingredients For Soft Christmas Peppermints
- ½ cup butter, softened
- 3 cups powdered sugar
- 2 tablespoons heavy whipping cream
- ¼ teaspoon peppermint extract (adjust to taste)
- Red gel food coloring
How To Make Soft Christmas Peppermints

Step 1: Beat the Butter
- In a mixing bowl, beat the softened butter with an electric mixer on medium speed until light and fluffy.
Step 2: Add Ingredients
- Gradually add in the heavy cream, powdered sugar, and peppermint extract. Continue to beat until the mixture reaches a firm, smooth, and dough-like consistency.
Step 3: Divide and Color the Dough
- Divide the dough into two portions: leave ¾ of the dough white and set aside.
- Color the remaining ¼ with red gel food coloring. Mix until the red color is evenly incorporated.
Step 4: Form the Mints
- Take a small portion of each dough and roll into thin ropes. Twist one red rope and one white rope together, then pinch off small sections to form individual mints.
- Place each twisted mint on a baking sheet lined with parchment paper.
Step 5: Dry and Set
- Allow the mints to air dry on the baking sheet for 1-2 hours.
- Once dry, cut them into bite-sized pieces and let them sit for an additional 24 hours to achieve the best melt-in-your-mouth texture.
Kitchen Equipment Needed

- Mixing bowl
- Electric mixer
- Measuring cups and spoons
- Baking sheet lined with parchment paper
- Small spatula or knife for cutting
Serving and Storage Tips
Serving Suggestions: These butter mints are ideal for holiday candy dishes, dessert platters, or even as an after-dinner treat. Serve them alongside other holiday sweets, or package them in small tins or festive bags for gifts.
Storage: Store the mints in an airtight container at room temperature for up to two weeks. Avoid refrigeration, as it can alter the texture.
Freezing: While they’re best enjoyed fresh, you can freeze the mints in an airtight container for up to 3 months. Thaw them at room temperature before serving.
Soft Christmas Peppermints Variations
- Different Colors: Experiment with green or blue gel food coloring for a colorful holiday candy spread.
- Add Sprinkles: Roll the finished mints in festive sprinkles or edible glitter for extra sparkle.
- Use Vanilla or Almond Extract: For a twist on flavor, replace peppermint with vanilla or almond extract.
- Make All White Mints: Skip the coloring step for simple, elegant all-white mints.
Helpful Notes
- Use Gel Food Coloring: Gel food coloring is ideal for candy as it creates vibrant colors without affecting consistency.
- Let Mints Fully Dry: Allowing the mints to air dry for 24 hours is essential for the right texture, so plan to make them a day in advance.
- Adjusting Peppermint Flavor: For a stronger flavor, add an extra 1/8 teaspoon of peppermint extract, but be careful as peppermint can be overpowering.
Tips from Well-Known Chefs
Martha Stewart’s Candy Tip: When coloring doughs or candies, always start with a small amount of coloring and build up gradually for precise control.
Ina Garten’s Butter Tip: Use high-quality butter for the best creamy, rich taste, as it’s a key ingredient in this recipe.

Frequently Asked Questions
Can I make these without peppermint?
Yes, you can replace peppermint extract with other flavors like vanilla or almond for a different twist.
Why is my dough sticky?
If the dough is too sticky, add a little more powdered sugar until it firms up enough to handle.
Can I speed up the drying process?
It’s best to let the mints dry at room temperature. Accelerating the drying in the refrigerator or freezer may alter the texture.
Can I use liquid food coloring instead of gel?
It’s best to use gel coloring, as liquid can make the dough too soft and harder to shape.
How far in advance can I make these?
You can make these butter mints up to two weeks ahead. Just store them in an airtight container at room temperature for optimal freshness.
These Soft Christmas Peppermints are a delightful, festive treat that will bring a nostalgic touch to any holiday table. With their melt-in-your-mouth texture and sweet peppermint flavor, these mints are a holiday classic sure to impress family and friends alike!

Soft Christmas Peppermints (Old-Fashioned Butter Mints) Recipe
Ingredients
- 1/2 cup butter softened
- 3 cups powdered sugar
- 2 tablespoons heavy whipping cream
- 1/4 teaspoon peppermint extract adjust to taste
- Red gel food coloring
Instructions
- Beat the Butter: In a mixing bowl, beat the softened butter until light and fluffy.
- Add Ingredients: Gradually add the heavy cream, powdered sugar, and peppermint extract. Continue to beat until the mixture is firm and smooth, forming a dough-like consistency.
- Divide and Color: Divide the dough into two portions. Leave 3/4 of the dough white, and color the remaining 1/4 with red gel food coloring.
- Form the Mints: Roll out small portions of each dough color into thin ropes. Twist the red and white ropes together and pinch off small sections to form individual mints.
- Dry and Set: Place the mints on a baking sheet and let them air dry for 1-2 hours, then cut them into bite-sized pieces. Allow them to dry further for 24 hours before serving for the best texture.
Notes
- Use Gel Food Coloring: Gel food coloring is ideal for candy as it creates vibrant colors without affecting consistency.
- Let Mints Fully Dry: Allowing the mints to air dry for 24 hours is essential for the right texture, so plan to make them a day in advance.
- Adjusting Peppermint Flavor: For a stronger flavor, add an extra 1/8 teaspoon of peppermint extract, but be careful as peppermint can be overpowering.


